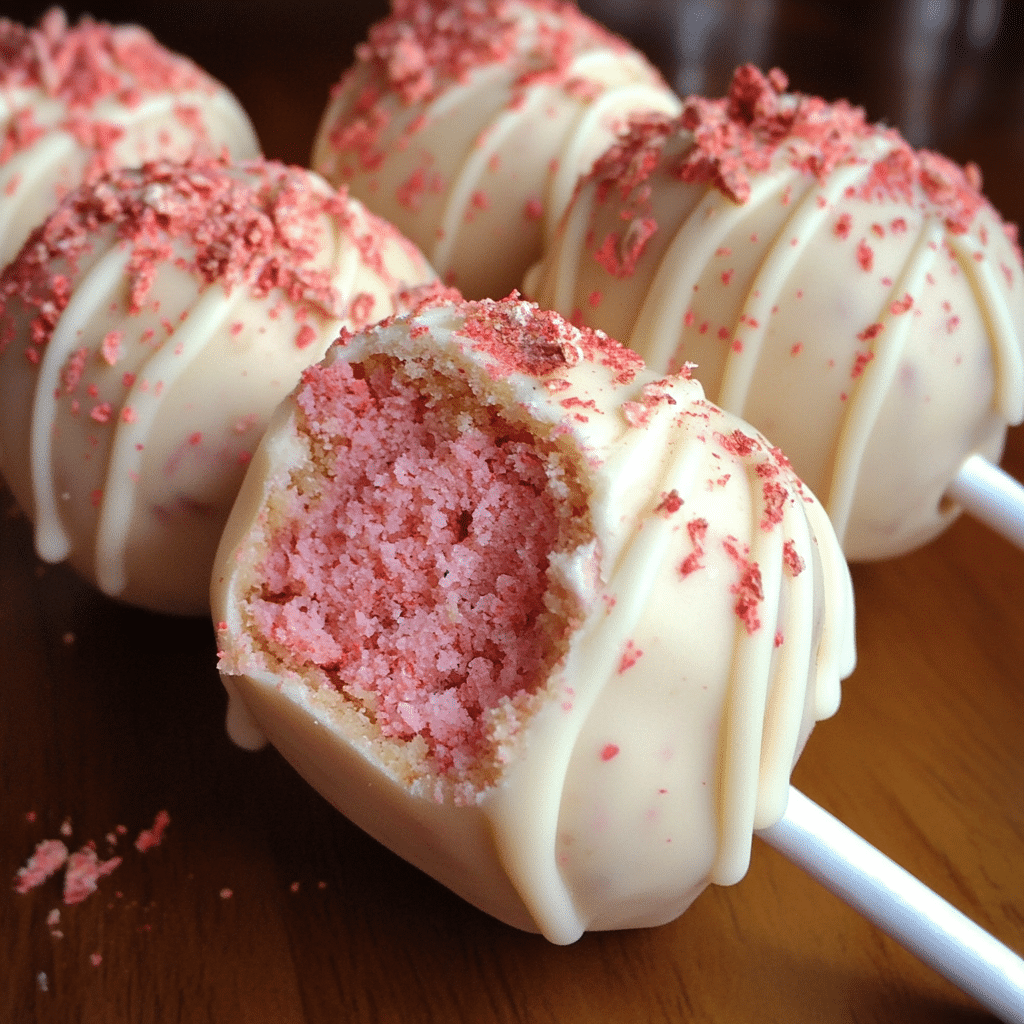
From birthday parties to wedding buffets, cake pops have become the darling of dessert tables everywhere. But while round cake pops have had their moment, there’s a new contender on the scene—square cake pops. These eye-catching cube-shaped treats aren’t just about looking chic; they offer unique decorating opportunities and a satisfyingly uniform bite.
In this guide, you’ll learn everything you need to know about square cake pops—what makes them different, how to make them from scratch, what tools you’ll need, and tips for dipping and decorating like a pro. Whether you’re an amateur baker or a seasoned dessert artist, this guide will help you master the art of square cake pops and impress at your next event.
Table of Contents
Table of Contents
Looking for inspiration? Try Cherry Rice Krispie Treats – A Sweet and Simple Homemade Delight to diversify your sweet offerings.
1. Understanding Square Cake Pops
What Are Square Cake Pops?
Square cake pops are just what they sound like—bite-sized cake desserts shaped into small squares or cubes, placed on a stick, and coated in candy or chocolate. They’re made the same way as traditional cake pops, which typically involve crumbled cake mixed with frosting, but instead of rolling them into balls, you press and cut the mixture into square shapes using molds or knives.
The square shape gives cake pops a modern, geometric look that’s ideal for clean decorating or creating custom designs like presents, emojis, or logos. They’re also easier to pack tightly for display or transport.
Why Square Over Round? The Unique Appeal
So, why go square instead of round?
- Stability: Square cake pops stand up better when placed on flat surfaces.
- Uniformity: It’s easier to get consistent sizing, which is great for large batches.
- Design flexibility: Sharp edges and flat sides allow for more detailed decorating.
- No rolling needed: If you’re not a fan of shaping balls, squares are faster using molds or a baking tray.
The visual appeal also plays a big part. For themed parties or corporate events, a square format allows for logos or custom prints, making them not just dessert—but edible branding.
2. Ingredients & Tools Needed for Square Cake Pops
Essential Ingredients for Moist Cake Pops
Great cake pops start with quality ingredients. Here’s what you’ll need for a basic batch:
| Ingredient | Purpose |
|---|---|
| Baked cake (vanilla, chocolate, red velvet) | Base ingredient |
| Buttercream frosting or cream cheese frosting | Binder to form pops |
| Candy melts or chocolate chips | For dipping and coating |
| Sprinkles, edible glitter, or icing | For decoration |
| Vegetable shortening or coconut oil | To thin the coating for smoother dipping |
Pro Tip: Use day-old cake to reduce moisture. Freshly baked cake can make the mixture too soft, making it harder to shape squares.
Must-Have Tools to Shape and Dip Like a Pro
To make and perfect your square cake pops, these tools are game-changers:
- Square silicone mold or baking tray: Ensures even and consistent cube shapes
- Cake pop sticks: Use food-safe, sturdy sticks for best results
- Dipping bowls: Shallow bowls help manage melted chocolate better
- Microwave-safe containers: Ideal for melting candy melts
- Cooling rack or cake pop stand: For drying without smudging the coating
- Parchment paper: Prevents sticking while forming or drying pops
- Sharp knife or dough scraper: If shaping squares manually from cake sheets
Don’t miss our Gummies & Chews section for more unique dessert textures to explore!
3. How to Make Square Cake Pops from Scratch
Step-by-Step Baking Instructions
Making square cake pops from scratch is simple when broken into stages.
Step 1: Bake the Cake
Use any boxed mix or homemade recipe. Bake it according to instructions and let it cool completely.
Step 2: Crumble and Mix
Once cooled, crumble the cake into a large bowl using clean hands or a food processor.
Add 2–3 tablespoons of frosting and mix until it holds shape without being too sticky. You want it moldable, not mushy.
Step 3: Form the Squares
There are two main methods:
- Using Molds: Press the mixture into a silicone square mold. Level the tops with a spatula and freeze for 15–20 minutes.
- Manual Method: Roll the mixture flat to about 1″ thickness, then cut it into equal squares using a ruler and knife or dough cutter.
Step 4: Insert the Sticks
Dip each stick about 1/4 inch into melted candy coating, then insert it halfway into the bottom of each square. Freeze for another 15 minutes to secure.
Step 5: Melt the Coating
Use candy melts or chocolate chips in a microwave-safe bowl. Add 1 tsp of vegetable shortening per cup of melts for a smoother finish.
Step 6: Dip the Pops
Hold each stick and dip the square gently into the coating. Tap lightly to remove excess. Let dry upright in a stand or by laying flat on parchment.
Step 7: Decorate
Before the coating sets, sprinkle decorations or use a piping bag for icing designs. Let them set completely before serving or storing.
Discover great ideas like Chocolate & Coated Treats for dipping inspiration and advanced flavor combos.
4. Dipping & Decorating Square Cake Pops
Tips for Dipping Without Cracking
One of the most common issues when making cake pops is the coating cracking after dipping. Here’s how to avoid it:
1. Temperature Matters
The #1 culprit of cracking is temperature shock. If your square cake pops are too cold and the coating too hot, cracks will form as the layers expand differently.
Solution: Let pops sit at room temperature for 5–10 minutes after freezing before dipping. Keep your coating just warm, not piping hot.
2. Use a Gentle Tap Technique
Don’t bang the stick on the side of the bowl. Instead, gently tap your wrist to let excess chocolate drip off evenly.
3. Thin Your Coating
Too-thick candy melts can make it hard to dip and result in uneven coating. Add a teaspoon of vegetable shortening or coconut oil to your melted chocolate for a smooth, flowing texture.
4. Use a Dipping Tool or Slotted Spoon
For extra support and control, place your square cake pops on a slotted dipping spoon or use a candy dipper.
Creative Decoration Ideas for Any Occasion
Square cake pops give you straight edges and flat surfaces, making them the perfect canvas for detailed decorating. Here are some eye-catching ideas:
1. Mini Presents
Use fondant or colored icing to mimic gift wrapping. Top with tiny sugar bows or piped ribbons.
2. Emoji Faces
Flat sides = perfect emoji templates. Use edible markers or piping gel for eyes and smiles.
3. Party Themes
Create square pops that match birthday or wedding color schemes. Dip in tinted chocolate and dust with edible glitter or pearls.
4. Holiday Specials
- Halloween: Monster faces, candy corn stripes
- Christmas: Snowman cubes or Santa gifts
- Valentine’s Day: Heart decals and red velvet insides
5. Drizzle Magic
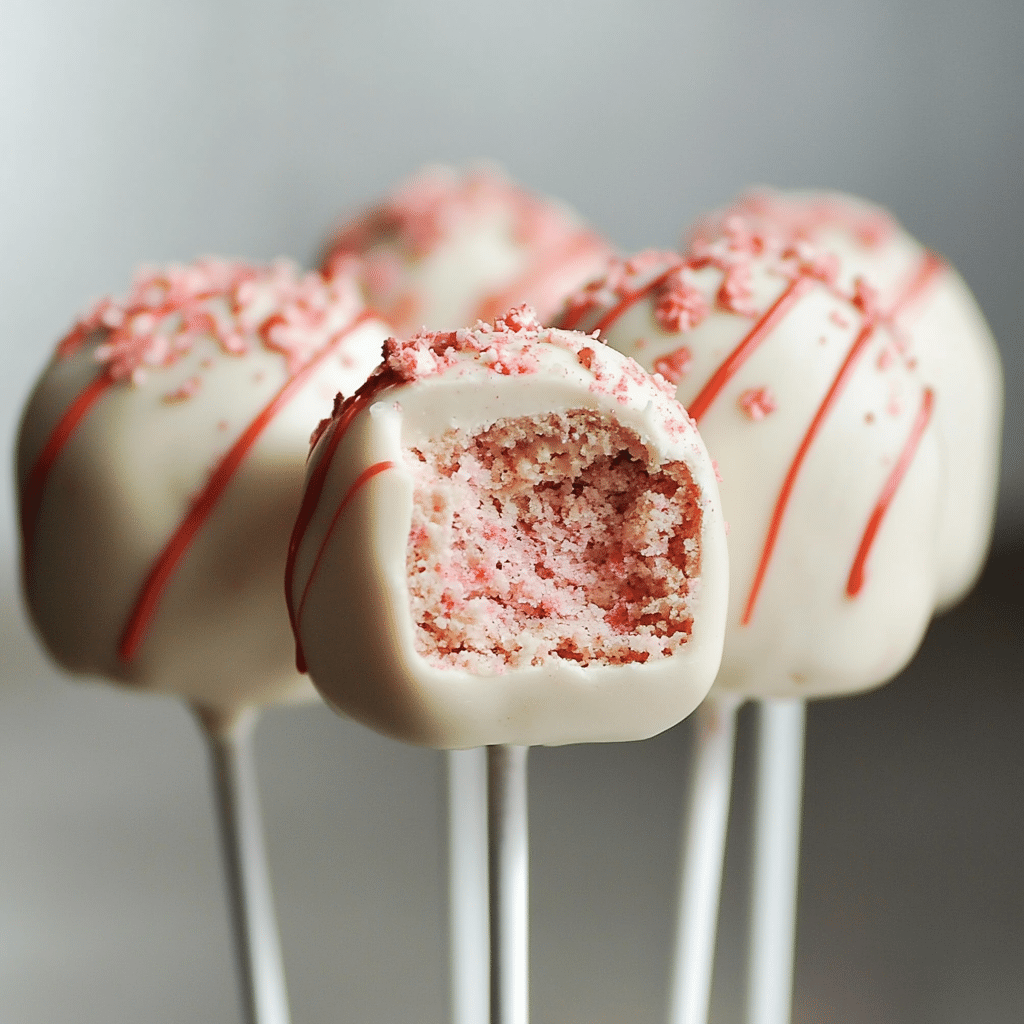
Drizzle white or dark chocolate in zig-zag patterns over a solid-color pop. It adds texture and contrast without needing extra tools.
5. Storage and Presentation Tips
How to Store Cake Pops for Maximum Freshness
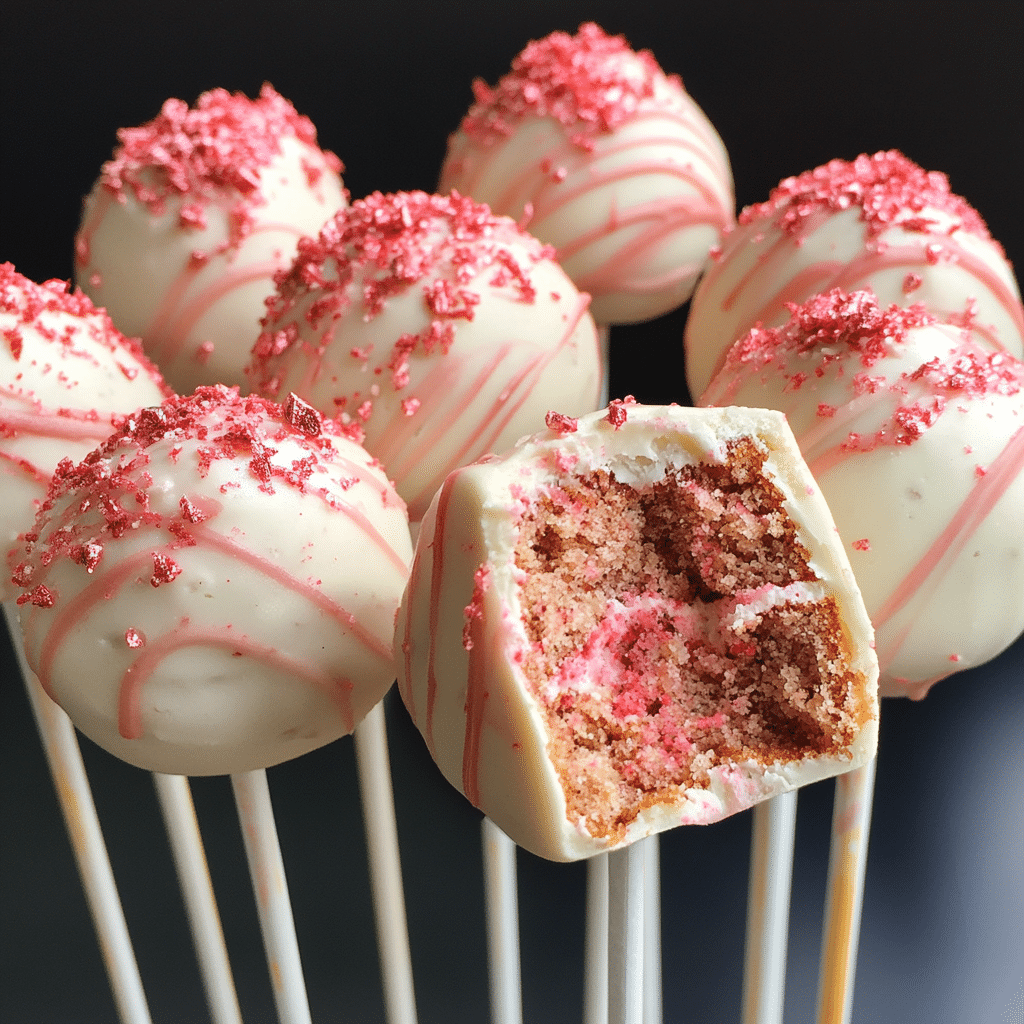
Preserving the freshness and texture of your cake pops depends on how and where you store them.
| Storage Method | Duration | Notes |
|---|---|---|
| Room Temperature (in airtight container) | 2–3 days | Ideal for short-term serving |
| Refrigerator (airtight) | 5–7 days | Keeps shape but may cause condensation |
| Freezer (individually wrapped) | Up to 1 month | Freeze after fully decorated and dried |
Storage Tips:
- Use wax paper between layers to avoid sticking.
- If refrigerating, let pops sit at room temp for 15–20 minutes before serving to avoid sweating.
Creative Ways to Present Square Cake Pops
Half the fun of cake pops is showing them off. With square ones, you have even more flexibility.
1. Cake Pop Bouquets
Arrange in mini flower pots or mason jars with foam bases. Add shredded paper filler and ribbons.
2. Tiered Display Stands
Use cake stands with holes or foam blocks covered in decorative paper. Squares stand neatly in rows, making them photogenic.
3. Themed Party Trays
Add signage and label cards like “Birthday Blocks” or “Love Bites.” Include flavor names if offering variety.
4. Individual Gift Wraps
Wrap each square in clear treat bags tied with ribbon for favors or holiday gifting.
6. Square Cake Pops vs Traditional Cake Pops
Texture, Taste & Visual Comparison
Shape aside, the core ingredients are usually the same between square and round cake pops. But here’s how they differ when it comes to experience:
| Feature | Square Cake Pops | Round Cake Pops |
|---|---|---|
| Texture | Even, dense bites due to flat sides | Slightly more variable texture |
| Taste | Same as round, depends on cake/frosting | Same, but coating thickness may vary |
| Aesthetic | Modern, sleek, geometric | Classic, playful, ball-shaped |
| Coating | Easier to coat sides evenly | Harder to achieve uniform coating |
Square shapes also stack and ship better, making them a favorite for party planners and commercial orders.
When to Choose Square Pops Over Round Ones
Here are scenarios where square cake pops really shine:
- Corporate Events: Add logos or initials on the front with edible markers or icing.
- Themed Events: Great for Minecraft parties (block theme), LEGO blocks, or modern weddings.
- High-End Dessert Tables: A square format gives a more polished, uniform look than their round cousins.
- DIY Kits: Easier to pack and decorate for cake pop kits.
That said, round cake pops still have their charmn especially for kid-focused events where the classic lollipop look is nostalgic.
7. Common Mistakes and Expert Fixes
Why Your Cake Pops Might Be Falling Off the Stick
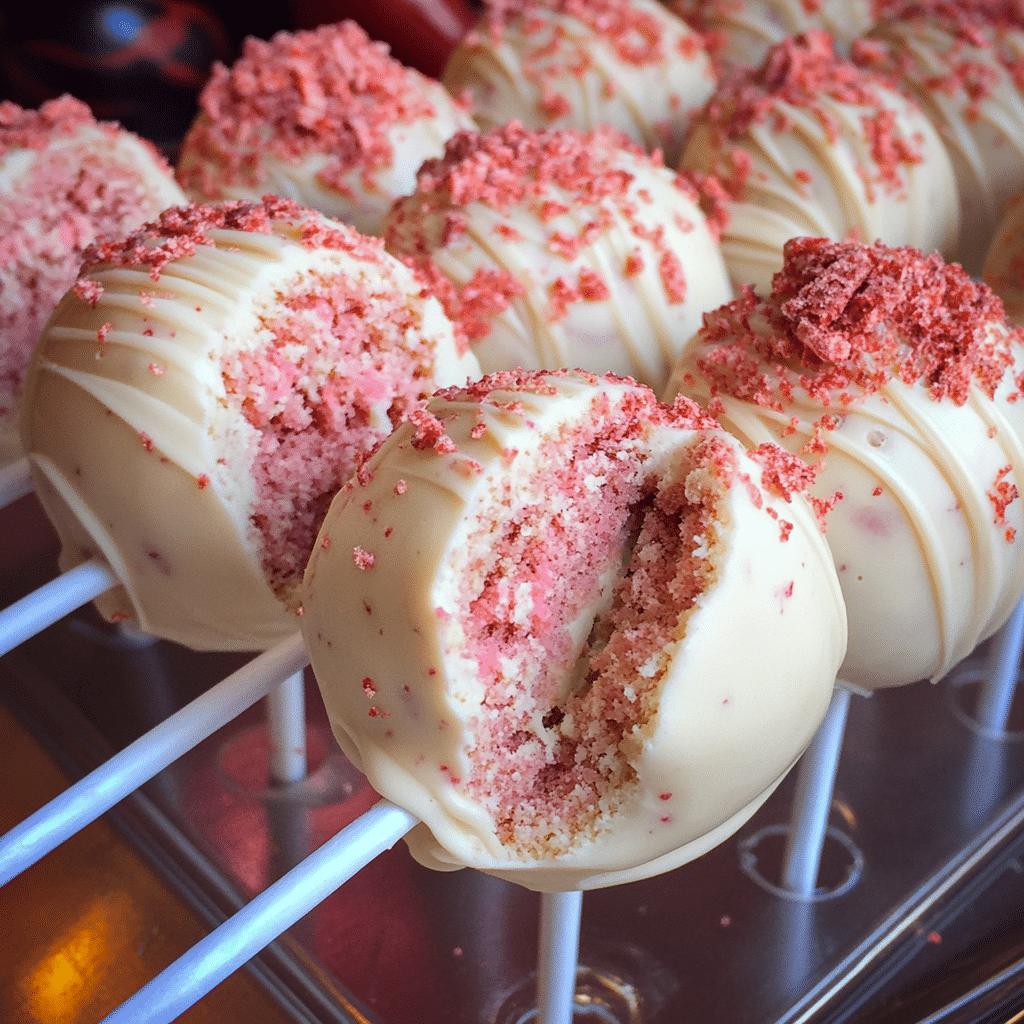
There’s nothing more frustrating than watching your cake pop plop into the bowl mid-dip. Luckily, the causes—and the fixes—are simple.
Problem #1: Too Much Frosting
If the cake-frosting mixture is too soft or greasy, it won’t hold well.
Fix: Use just enough frosting to bind—about 1/3 cup for one full cake. The texture should be similar to moldable dough.
Problem #2: No “Glue” Before Sticking
Inserting the stick without prepping it is a recipe for disaster.
Fix: Always dip the stick into a bit of melted candy coating before inserting into the cake square. Freeze afterward for better grip.
Problem #3: Not Enough Chilling Time
Warm cake pops can crumble during dipping.
Fix: Chill pops in the freezer for 15–20 minutes before dipping, but don’t freeze them solid.
Problem #4: Heavy Coating
Thick candy coating adds weight, pulling the pop off.
Fix: Thin your chocolate with a bit of shortening and let the excess drip off slowly.
Fixing Cracked Coatings and Dry Cake
Cracks and dryness can make even pretty pops a letdown. Here’s how to rescue your batch:
Cracked Shell?
Use a warm spoon to gently “seal” the cracks with leftover melted chocolate. Decorate to hide imperfections.
Dry Cake Texture?
You may have overbaked or used stale cake.
Fix: Add a touch more frosting next time and use freshly baked cake. Test your mixture’s consistency before shaping.
Bonus Tip: Want a moister pop without heaviness? Add 1 tbsp of condensed milk to your frosting before mixing with cake crumbs.
8. Fun Variations & Flavor Ideas
Seasonal & Holiday Square Cake Pop Themes
The beauty of square cake pops is how easily they adapt to holidays and events. Try these crowd-pleasing seasonal twists:
- Christmas: Peppermint chocolate cake pops with crushed candy canes
- Easter: Lemon cake with pastel-colored coatings
- Halloween: Pumpkin spice cake with orange and black drizzle
- Fourth of July: Red velvet with blue and white candy melts
- Valentine’s Day: Strawberry cake with white chocolate and pink hearts
You can also theme them by occasion—like wedding favors (champagne-flavored) or baby showers (blueberry or pink velvet).
Unusual Flavor Combinations That Work
Want to stand out at your next party or bake sale? Experiment with these unexpected pairings:
| Cake Flavor | Frosting | Coating | Toppings |
|---|---|---|---|
| Pistachio | Vanilla | Dark chocolate | Crushed pistachios |
| Earl Grey | Honey butter | White chocolate | Gold dust |
| Coconut | Cream cheese | Milk chocolate | Toasted coconut flakes |
| Churro spice | Dulce de leche | Cinnamon sugar coating | No coating needed |
| Lavender | Lemon | White chocolate | Dried lavender petals |
Feel free to invent your own by combining teas, zests, nut butters, or fruit reductions in the batter or frosting.
9. FAQ
What is the trick to making cake pops?
The secret is in the balance of moisture and structure. Use just enough frosting to bind crumbled cake so it holds shape without being soggy. Always chill before dipping, and thin your coating for a smooth finish. For square cake pops, using molds ensures even, sharp edges.
What are those little square cakes called?
They’re commonly known as square cake pops or cake cubes. Unlike petit fours or cake bars, these are served on a stick, dipped in coating, and meant to be eaten in a few bites—just like round cake pops but with a modern edge.
How to dip square cake pops?
Let your chilled pops sit at room temp for 5–10 minutes. Dip into slightly warm melted candy coating and gently tap off excess. Hold by the stick vertically until dry. Use a cooling rack or stand for a clean finish. Add decorations while the coating is still wet.
What’s the difference between cake and cake pops?
Cake is typically served in slices with layers of frosting. Cake pops are made by mixing baked cake with frosting, shaping into balls or squares, and dipping into a chocolate shell. The texture is denser, and they’re more portable and mess-free—ideal for parties.
What country are cake pops from?
Cake pops originated in the United States and became a major trend around 2008, thanks in part to baking blogs and viral Pinterest content. Since then, they’ve become a global treat, especially popular at events and dessert bars.
For more recipes follow me on PINTEREST
PrintSquare Cake Pops: The Complete Guide to Perfecting This Trendy Treat
These square cake pops are a fun twist on the classic round version—dense, moist cake mixed with frosting, shaped into sleek cubes, dipped in melted chocolate, and decorated for any occasion. Perfect for parties, gifting, or even dessert tables, these stylish treats are as delicious as they are eye-catching.
- Prep Time: 20 minutes
- Cook Time: 60 minutes
- Total Time: 1 hour 20
- Yield: 24 square cake pops 1x
- Category: Candy
- Cuisine: American
Ingredients
For the Cake:
-
1 box of vanilla or chocolate cake mix (or homemade equivalent)
-
Ingredients as required for cake mix (typically eggs, oil, water)
For the Filling:
-
1/3 to 1/2 cup buttercream frosting (store-bought or homemade)
For the Coating & Decoration:
-
2 cups candy melts or chocolate chips (white, milk, or dark)
-
1 tbsp vegetable shortening or coconut oil (for thinning)
-
Edible decorations: sprinkles, icing, glitter (optional)
-
24 cake pop sticks
Instructions
-
Bake the Cake
Prepare the cake mix according to the package or your recipe. Let it cool completely. -
Crumble the Cake
Use clean hands or a food processor to crumble the cooled cake into fine crumbs. -
Add Frosting
Add 1/3 cup of frosting and mix until it forms a dough-like texture. Add more frosting only if needed. -
Shape into Squares
Press the mixture into a square silicone mold or flatten it and cut into cubes with a knife. -
Insert the Sticks
Dip each stick into melted coating and insert halfway into the cake square. Chill for 15–20 minutes. -
Dip the Pops
Melt candy melts with shortening. Dip each cake pop into the coating, gently tap off excess.
-
Decorate & Dry
While still wet, add sprinkles or drizzle. Stand upright or lay flat on parchment to set.
Nutrition
- Serving Size: 24 square cake pops
- Calories: 160 kcal
- Sugar: 15g
- Fat: 8g
- Carbohydrates: 22g
- Fiber: 0.5g
- Protein: 1g

