1 Introduction & Story
Every summer in Kentucky, there’s a tradition that fills kitchens with laughter, sticky fingers, and the irresistible smell of sugar bubbling away on the stove: Kentucky Cream Pull Candy.
I still remember the first time my grandmother made it with me on a warm July afternoon. She would hand me a buttered pan and whisper, “Now watch the magic happen.” As the syrup cooled, she would begin the mesmerizing process of pulling, folding, and twisting until the candy turned pearly white and glossy. For a little girl, it felt like watching sugar transform into a treasure.
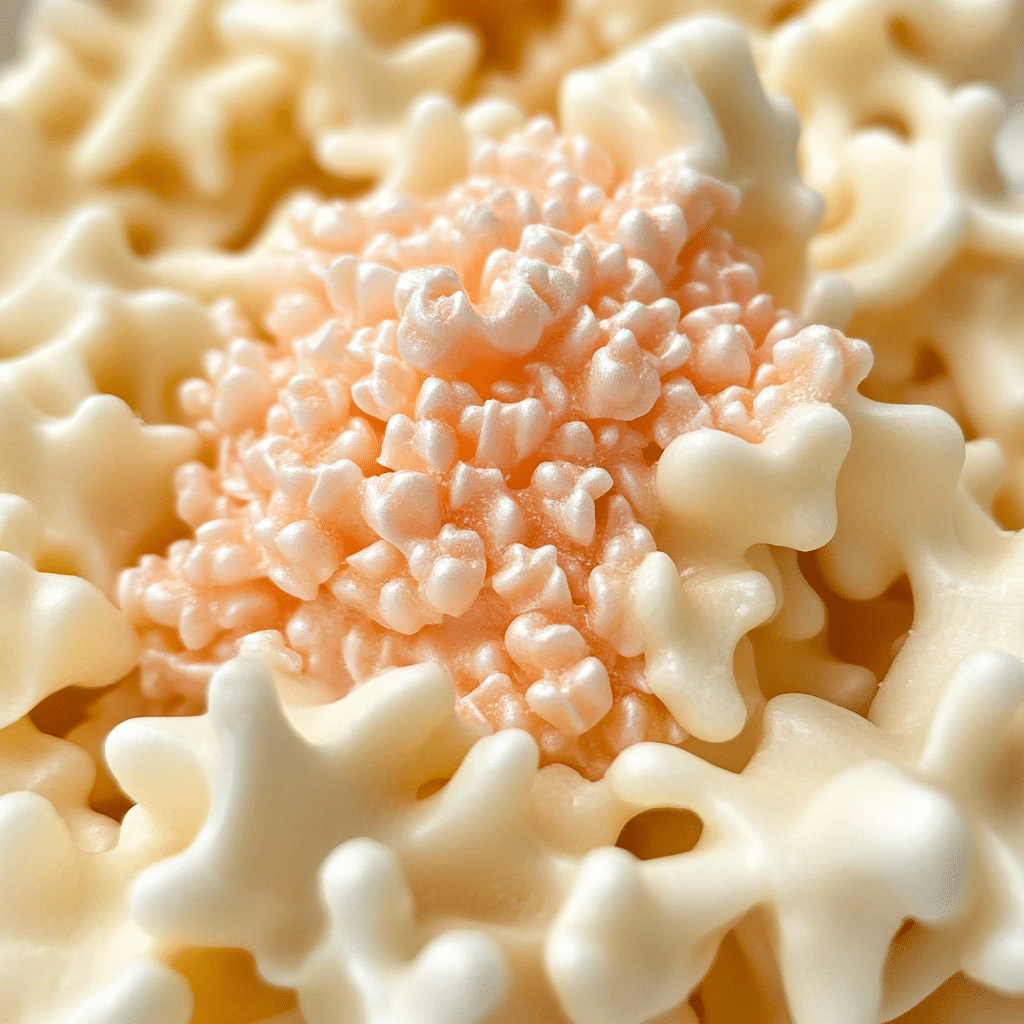
This candy isn’t just about taste—it’s about togetherness. Families often gather around the kitchen counter, passing the candy back and forth, stretching it into shiny ropes until it becomes creamy and tender. Unlike brittle or hard candy, Kentucky Cream Pull Candy melts in your mouth, almost like a sweet cloud of sugar cream.
What makes this recipe special is not just its flavor, but its roots. Passed down through generations in Kentucky households, it has become a symbol of summer gatherings, weddings, and county fairs. Making this candy is a labor of love, but the reward is a nostalgic treat that’s both elegant and delightfully simple.
So, if you’re ready to bring a touch of Kentucky tradition into your home this summer, let’s dive into the history, ingredients, and steps to create your very own batch of Kentucky Cream Pull Candy.
2 History of Kentucky Cream Pull Candy
The origins of Kentucky Cream Pull Candy trace back to the 19th century, when handmade sweets were treasured luxuries. Unlike mass-produced confections, this candy was born from rural kitchens, where sugar, cream, and a strong arm were the main tools needed.
Kentucky, known for its bourbon, bluegrass, and Southern hospitality, also has a sweet side that often gets overlooked. Families in Appalachia and along the Ohio River Valley developed recipes like cream pull candy as a way to celebrate special occasions. The candy was often prepared for church socials, weddings, and summer picnics, where it became as much a part of the gathering as fried chicken or cornbread.
The “pulling” technique has European roots, similar to taffy-pulling traditions. Immigrants brought these candy-making methods to America, and Kentuckians added their own flair by incorporating cream and butter. This gave the candy a softer, melt-in-the-mouth texture compared to harder versions of pulled sugar candies.
Today, Kentucky Cream Pull Candy remains a symbol of heritage and craftsmanship. It requires patience, teamwork, and precision—but that’s exactly what makes it so special. Watching the candy change color and texture as it’s pulled is both a science experiment and an art form.
Whether served in small swirls, twisted ropes, or bite-sized pillows, this candy represents more than sugar and cream—it embodies Kentucky pride, family bonding, and the sweetness of tradition.
3 Ingredients & Equipment Needed

Before diving into the recipe, let’s gather everything you’ll need to create Kentucky Cream Pull Candy at home. Preparation is key, since candy-making moves quickly once the sugar reaches the right stage.
Ingredients:
- 2 cups granulated sugar – the foundation of the candy.
- 1 cup heavy cream – adds that luscious creamy texture.
- ½ cup light corn syrup – helps prevent crystallization.
- 1 tablespoon unsalted butter – enriches flavor and keeps candy smooth.
- 1 teaspoon vanilla extract – for warmth and depth.
- Pinch of salt – balances sweetness.
Equipment:
- Heavy-bottom saucepan – ensures even heat distribution.
- Candy thermometer – essential for accuracy (sugar stages are everything!).
- Wooden spoon – won’t get too hot in your hand while stirring.
- Marble slab or large buttered baking sheet – a cool surface to pour syrup.
- Butter or nonstick spray – to prevent sticking.
- Strong hands (or a partner!) – pulling the candy takes effort.
Optional: Food-safe gloves (to handle hot candy), kitchen scissors (for cutting pieces), and wax paper (for wrapping).
A quick tip: Humidity is the enemy of candy-making. Choose a dry day to make this recipe, or run a dehumidifier in your kitchen. Moisture in the air can prevent the candy from setting properly.
Now that we have our sugar, cream, and tools ready, it’s time to roll up our sleeves and start cooking!
4 Step-by-Step Recipe Instructions
Making Kentucky Cream Pull Candy is a thrilling process because the transformation happens before your eyes. The first stage is all about cooking the syrup correctly.
Step 1 – Prepare Your Workspace
Butter your marble slab or baking sheet generously. Keep your buttered wooden spoon and thermometer nearby. Once the syrup is ready, you’ll need to move fast.
Step 2 – Combine Ingredients
In your heavy-bottom saucepan, add:
- 2 cups sugar
- 1 cup heavy cream
- ½ cup corn syrup
- Pinch of salt
Stir gently over medium heat until the sugar dissolves completely.
Step 3 – Bring to a Boil
Raise the heat slightly and bring the mixture to a rolling boil. Insert your candy thermometer, making sure it doesn’t touch the bottom of the pan.
Step 4 – Cook to the Firm Ball Stage
Continue boiling until the mixture reaches 248°F (120°C)—known as the “firm ball” stage. This ensures the candy will set but still have that creamy bite. Avoid stirring too much, as it may cause crystallization.
Step 5 – Add Flavor
Once it reaches the correct temperature, remove from heat immediately. Stir in 1 tablespoon butter and 1 teaspoon vanilla extract.
Step 6 – Pour & Cool
Carefully pour the hot syrup onto your buttered slab or pan. Allow it to cool just enough to handle—warm but pliable. This is the magical moment where science meets art, and the pulling begins.
(We’ll continue with the pulling and shaping process in Part 5).
5 Step-by-Step Recipe Instructions

Now comes the most iconic step: pulling the candy. This is where the magic happens—the golden syrup turns into soft, creamy white ribbons of Kentucky tradition.
Step 7 – Test for Handling Temperature
When the syrup on your slab is warm but not too hot to touch (around 120–130°F / 49–54°C), butter your hands well. You may also wear food-safe gloves for extra protection.
Step 8 – Begin Pulling
Lift the mass of syrup and stretch it into a long rope. Fold it back onto itself, then pull again. Continue repeating this process. The more you pull, the more air is incorporated, transforming the candy from a translucent amber color into a pearl-white, satiny finish.
Step 9 – Work Quickly
Pulling should take about 10–15 minutes. If you work alone, it will be a bit challenging, but if you have a partner, you can toss and stretch the candy between you like a giant, sweet ribbon.
Step 10 – Shape the Candy
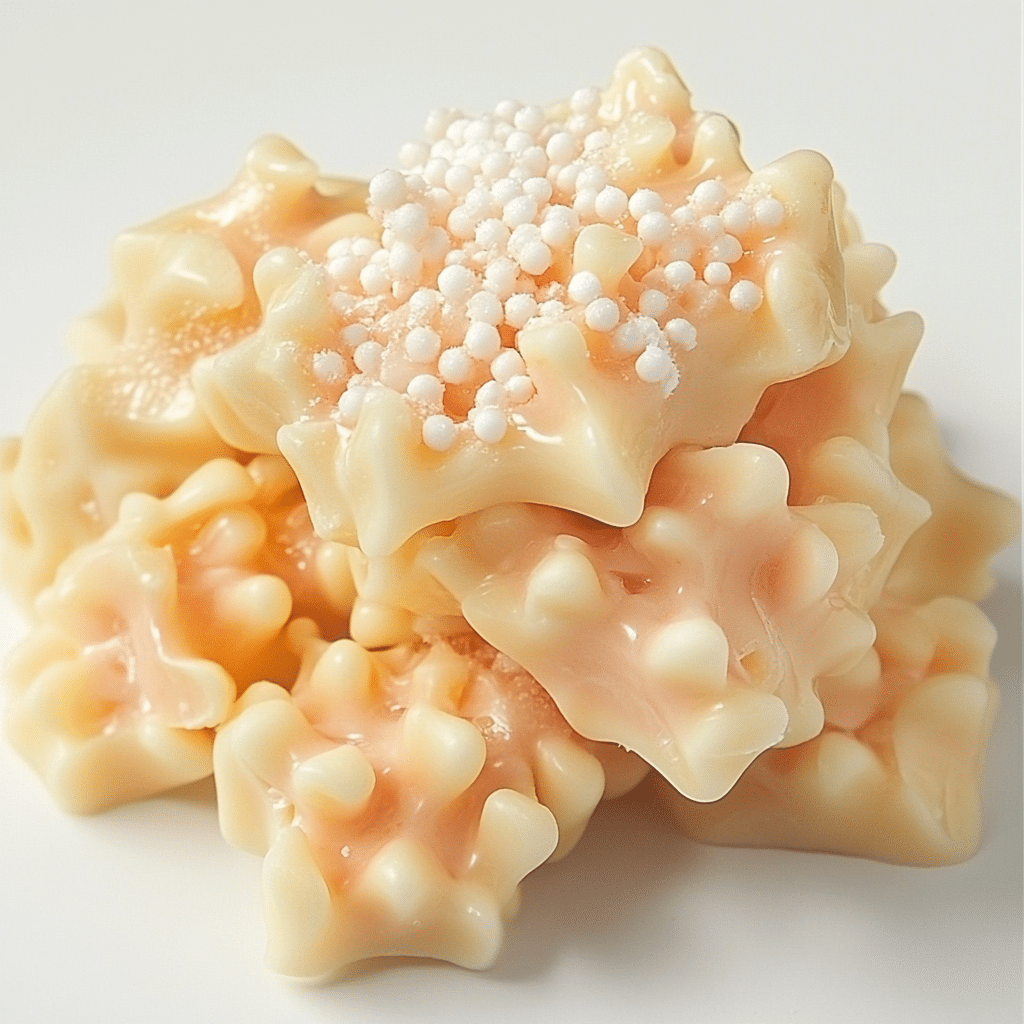
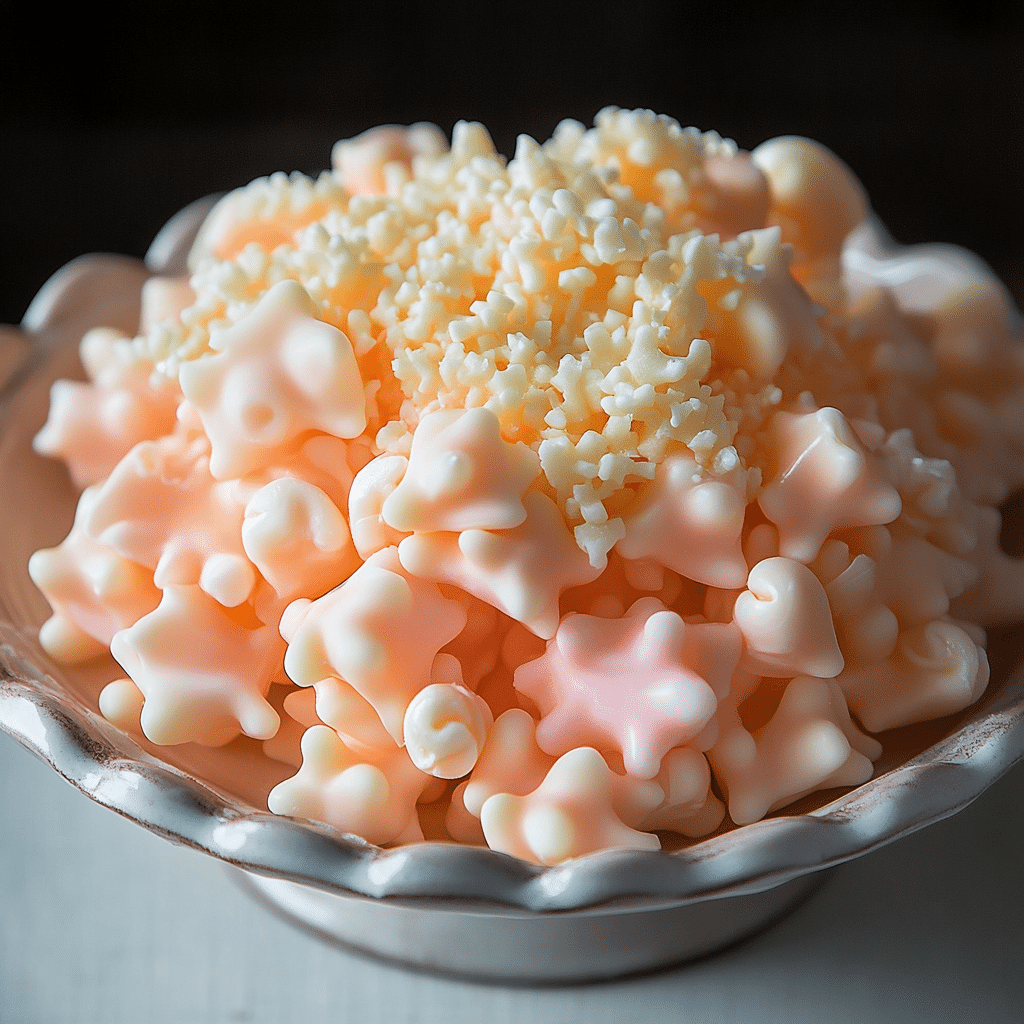
Once the texture is soft and creamy, form the candy into long ropes. You can twist them for a decorative touch or cut them into bite-sized pillow pieces using buttered kitchen scissors.
Step 11 – Let it Set
Lay the candy pieces on buttered wax paper to cool and harden slightly. Within minutes, you’ll have delicate, melt-in-the-mouth Kentucky Cream Pull Candy, ready to enjoy.
6 Tips, Tricks & Troubleshooting
Candy-making is as much about precision as it is about patience. Here are some expert tips to ensure success:
- Humidity matters: Always make this candy on a dry day. High humidity will cause your candy to stay sticky and fail to set.
- Temperature accuracy: Use a reliable candy thermometer. Even a 2–3 degree difference can change the texture.
- Avoid crystallization: Don’t scrape the sides of your pan while boiling sugar. Sugar crystals can “seed” the syrup and ruin the batch.
- Butter generously: Keep your slab, scissors, and hands well-buttered to prevent sticking.
- Work in small batches: If the candy starts to harden before you finish pulling, you can rewarm it gently in the oven at 200°F for a few minutes.
- Texture check: Properly pulled candy should be creamy, not brittle. If it cracks easily, you may have overcooked the syrup.
💡 Pro Tip: Kids love helping with the pulling stage, but since the candy is hot at first, give them a turn once it’s cooled down enough to handle safely.
7 Serving Suggestions, Storage & Variations
Once you’ve made your batch of Kentucky Cream Pull Candy, the fun continues with presentation and storage.
Serving Suggestions
- Classic swirls: Twist the ropes and cut into small pieces for an elegant, old-fashioned candy dish.
- Gift idea: Wrap pieces individually in wax paper and tie with ribbon for a homemade gift.
- Special events: Serve at summer weddings, birthday parties, or county fairs for a touch of nostalgia.
Storage Tips
- Store in an airtight container lined with wax paper to prevent sticking.
- Keep in a cool, dry place—humidity will make them sticky.
- Best enjoyed within 2–3 weeks for optimal freshness.
Variations
- Mint version: Add a drop of peppermint extract instead of vanilla for a refreshing twist.
- Bourbon cream candy: Stir in a teaspoon of Kentucky bourbon after cooking for an adults-only treat.
- Colored candy: Add food coloring during pulling for festive swirls at Christmas or Easter.
8 Conclusion
Kentucky Cream Pull Candy isn’t just a dessert—it’s a tradition. From bubbling syrup on the stove to the rhythmic pull-and-fold on a summer afternoon, every step of this recipe carries a story of family, community, and Southern heritage.
If you’ve never tried making candy before, this recipe is the perfect way to start. It requires patience, yes, but the result is a melt-in-the-mouth confection that’s unlike anything you’ll find in stores.
Why not make it a family event? Invite your kids, friends, or neighbors to join in the pulling fun. And when you take that first creamy bite, you’ll understand why Kentuckians have cherished this candy for generations.
Have you tried making Kentucky Cream Pull Candy? Share your experience in the comments below, and don’t forget to pass along this recipe so more people can taste a bit of Kentucky’s sweet summer tradition.
Dont forget Elegant White Sparkle Candy Apples
For more recipes follow me on PINTEREST
PrintKentucky Cream Pull Candy – A Sweet Summer Tradition
Kentucky Cream Pull Candy — a silky-smooth Southern classic that’s pulled until pearly and melt-in-your-mouth perfect. Ideal for summer gatherings.
- Prep Time: 15 mins
- Cook Time: 20 mins
- Total Time: 45 mins
- Yield: 4 servings 1x
- Category: Candy
- Method: Stovetop, Pulling
- Cuisine: American
- Diet: Vegetarian
Ingredients
2 cups granulated sugar
1 cup heavy cream
1/2 cup light corn syrup
1 tablespoon unsalted butter
1 teaspoon vanilla extract
Pinch of fine salt
Butter (for greasing hands/surface)
Optional: food-safe gloves, food coloring
Instructions
1. Butter a marble slab or baking sheet. Prep a buttered wooden spoon and a reliable candy thermometer.
2. In a heavy-bottom saucepan, combine sugar, heavy cream, corn syrup, and a pinch of salt. Stir over medium heat until sugar dissolves.
3. Bring to a steady boil; insert thermometer (not touching the pan bottom). Do not stir once boiling.
4. Cook to 248°F / 120°C (firm-ball stage). Remove from heat; stir in butter and vanilla (and a drop of coloring if using).
5. Pour the hot syrup onto the buttered slab. Cool until warm and pliable (about 120–130°F), then butter hands or wear gloves.
6. Lift and pull: stretch into a rope, fold, and pull again. Continue 10–15 minutes until the candy turns pearly white and satiny.
7. Form long ropes; twist if desired. Snip into bite-sized pillows with buttered kitchen scissors.
8. Set pieces on wax paper to firm up. Enjoy once set; store airtight with wax paper layers.
Notes
Make on a dry day—humidity keeps candy sticky.
Avoid crystallization: don’t scrape pan sides while boiling.
If the mass hardens before finishing, gently rewarm in a 200°F (93°C) oven for a few minutes.
Creamy texture signals success; brittle texture means syrup was overcooked.
Serving idea: wrap pieces in wax paper for nostalgic gifts.
Nutrition
- Serving Size: about 5–6 pieces
- Calories: 380
- Sugar: 62g
- Sodium: 30mg
- Fat: 12g
- Saturated Fat: 8g
- Unsaturated Fat: 3g
- Trans Fat: 0g
- Carbohydrates: 68g
- Fiber: 0g
- Protein: 2g
- Cholesterol: 40mg


