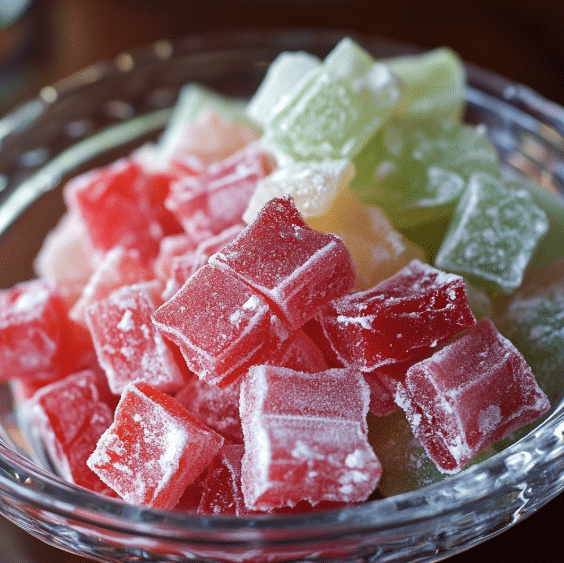
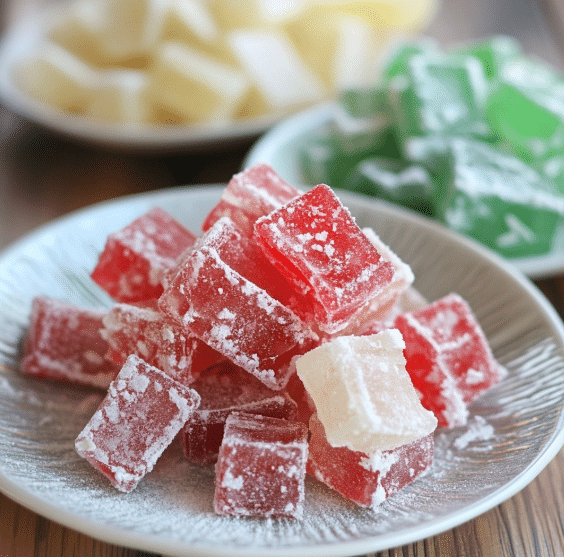
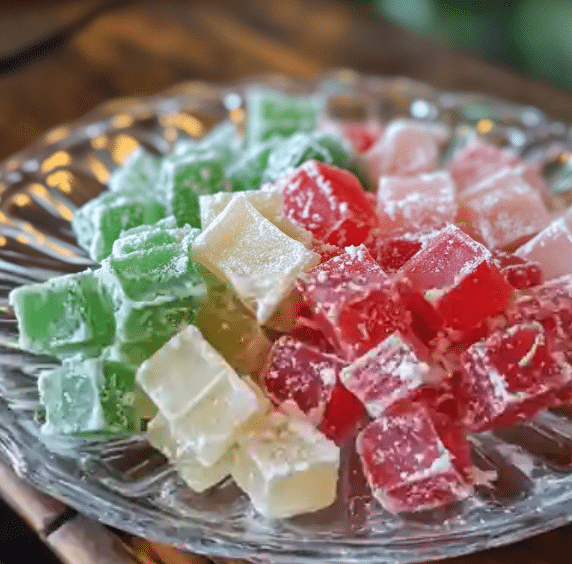
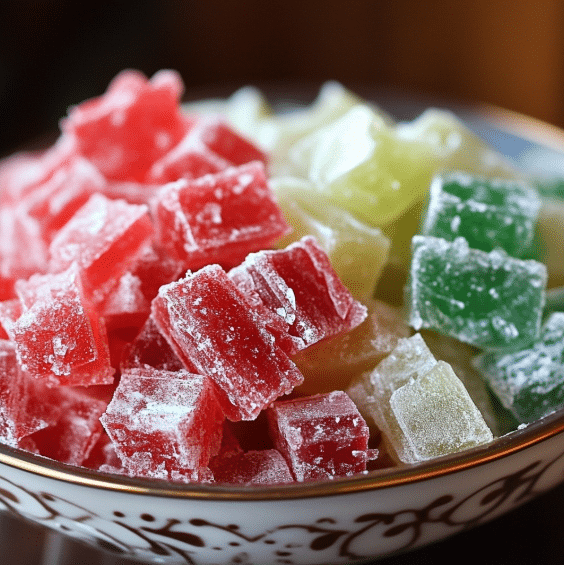
Ever dreamed of making your own sweet, glossy hard candy right at home? Whether you’re craving something nostalgic or just want a creative kitchen project, this guide breaks down everything you need to know. From simple ingredients to must-know techniques, you’ll learn how to make flawless homemade hard candy without the stress.
You’ll get pro tips on ingredients, flavoring, common pitfalls, and even the science behind perfect candy. And if you’re stuck wondering why your candy didn’t harden or what baking soda is doing in the recipe don’t worry. We’ve got you covered with answers to real candy-making FAQs.
Table of Contents
Table of Contents
1. Introduction to Homemade Hard Candy
What Is Hard Candy? A Quick Overview
Hard candy is a sugar-based confection cooked to a high temperature — usually 300°F (the “hard crack” stage). When done right, it becomes brittle, shiny, and snappy once cooled. Think lollipops, candy canes, and fruit drops. The beauty? You only need a few ingredients and a bit of attention to detail.
Homemade hard candy lets you control everything from color to flavor. You can experiment with extracts like cinnamon, peppermint, or even mango, and you’re not stuck with store-bought additives or preservatives.
It’s also surprisingly budget-friendly. A basic batch costs just a few dollars, and you can make enough to fill party favors, holiday tins, or keep for months in a sealed jar.
Why Make Hard Candy at Home?
Sure, you can buy hard candy at any store. But making it at home comes with some sweet perks:
- Customization: Choose your own flavors, colors, and shapes.
- Quality control: Avoid artificial dyes and ingredients if you want something more natural.
- Fun activity: Great for kids’ parties, holidays, or just a relaxing DIY afternoon.
- Gift potential: Homemade candy looks great in mason jars or cellophane bags tied with ribbon.
And let’s face it there’s something seriously satisfying about hearing that crack when you break apart a slab of hard candy you made from scratch.
2. Essential Ingredients in a Homemade Hard Candy Recipe
Core Components: Sugar, Water, and Corn Syrup
When it comes to making hard candy at home, fewer ingredients deliver more flavor and fun. The foundation of any hard candy recipe revolves around three key components:
Granulated Sugar
This is the main structure of your candy. Sugar melts and then re-solidifies into a glassy, brittle texture once it cools. Choose high-quality granulated white sugar for the clearest, brightest results.
Water
Water helps dissolve the sugar evenly and allows it to cook at a steady pace. During the heating process, most of the water will evaporate, leaving behind the sugar structure that forms the candy.
Corn Syrup
Corn syrup prevents unwanted crystallization a major enemy of smooth, glassy candy. It keeps the texture uniform and helps your candy stay shiny rather than cloudy or gritty. If you’re avoiding corn syrup, glucose syrup or a mix of sugar and honey may be used, though the results can vary.
| Ingredient | Purpose | Substitutes |
|---|---|---|
| Sugar | Base structure | Xylitol (for sugar-free) |
| Water | Dissolves and heats evenly | None |
| Corn Syrup | Prevents crystallization | Glucose, honey |
Flavorings and Colors: Adding the Fun Factor
This is where you get to personalize your candy — the flavor and look.
Flavor Extracts
You only need a few drops to transform a basic candy into something bold. Popular options include:
- Peppermint
- Cinnamon
- Cherry
- Watermelon
- Lemon
Make sure to use oil-based flavorings if you’re adding them during high-heat stages. Water-based extracts can evaporate or cause the mixture to seize.
Food Coloring
Gel or liquid food coloring brings your candy to life. Add it near the end of cooking or after removing from heat to avoid fading. For a more natural route, try beet juice (red), spirulina (green), or turmeric (yellow).
Acids and Additives
Some recipes call for citric acid or cream of tartar to add tang or adjust the pH for better shelf stability.
Looking for a fresh rercipes after all that richness? Try our Classic Homemade Orange Candy.

3. Tools and Equipment You’ll Need
Must-Have Candy-Making Tools
Making homemade hard candy isn’t complicated, but having the right tools makes it a whole lot easier—and safer. Here’s what you need to get started:
Heavy-Bottom Saucepan
A medium to large saucepan with a thick base helps distribute heat evenly. Avoid thin pots, which can cause the sugar to scorch or burn.
Candy Thermometer
This is essential. Hard candy requires a specific temperature — 300°F (known as the “hard crack stage”). A digital or clip-on candy thermometer ensures precision, which is critical to success.
Wooden or Silicone Spoon
Use a heatproof spoon to stir your sugar mixture. Avoid metal (too hot) or plastic (may melt). Wooden spoons are ideal for high heat and won’t react with ingredients.
Candy Molds or Baking Sheet
You can pour the hot syrup into silicone molds for shapes like hearts or stars, or use a parchment-lined baking sheet for breaking into shards.
Measuring Cups and Spoons
Accurate measurements are non-negotiable in candy making. A little too much or too little can throw off texture and flavor.
Thermometers, Molds, and Safety Gear
Let’s not forget safety — because sugar syrup is HOT.
Heatproof Gloves or Oven Mitts
Handling hot pots and pouring molten syrup calls for protection. Always wear mitts when working around your heated mixture.
Silicone Mats or Parchment Paper
These prevent sticking when cooling your candy. Wax paper will melt, so don’t use it.
Molds and Shapes
Want to make lollipops? Use stick molds. Prefer candy glass? Pour the mix thinly onto parchment paper and score with a knife before it sets.
Spray Oil or Non-Stick Spray
Lightly coat molds or sheets to make candy release effortlessly once cooled.
4. Step-by-Step Homemade Hard Candy Recipe
Preparing Your Ingredients and Workspace
Before you even turn on the stove, prep everything. Candy making moves fast, and once your mixture hits the right temperature, you’ll have only seconds to pour and shape it.
Step-by-Step Prepping Checklist:
- Measure all ingredients ahead of time
- Set out molds or line a baking sheet with parchment
- Lightly spray molds with oil
- Clip your thermometer to your saucepan
- Have flavoring and food coloring nearby, ready to stir in at the end
Important tip: Work in a cool, dry environment. Humidity affects how well candy sets. On damp days, your candy may absorb moisture and stay sticky.
Cooking to the Right Temperature and Pouring It Correctly
Here’s the classic homemade hard candy recipe process simplified:
Ingredients:
- 2 cups granulated sugar
- 2/3 cup light corn syrup
- 3/4 cup water
- 1/2 tsp flavoring extract (peppermint, cherry, etc.)
- Food coloring (optional)
Directions:
- Combine Ingredients
In a heavy saucepan over medium heat, combine sugar, corn syrup, and water. Stir until the sugar is fully dissolved. Stop stirring once it begins to boil. - Heat to 300°F (Hard Crack Stage)
Using your candy thermometer, monitor the temperature closely. This stage ensures your candy sets up firm and brittle.
Do not stir the mixture once it begins boiling — stirring can cause crystals to form.
- Remove From Heat & Add Flavor/Color
Once the thermometer reads 300°F, remove the pot from heat immediately. Wait for bubbling to calm slightly (5-10 seconds), then add food coloring and flavoring. Stir gently. - Pour Into Molds or Onto Sheet
Carefully pour the hot mixture into molds or onto your prepped baking sheet. Don’t scrape the sides of the pot — this can introduce crystallized sugar. - Cool & Break
Let cool at room temperature for 30–45 minutes. Once fully hardened, break into bite-size pieces if using a sheet, or remove from molds. - Dust with Powdered Sugar (Optional)
This prevents sticking, especially if storing in a container.
5. Common Mistakes and How to Fix Them
Why Your Hard Candy Might Not Harden
One of the most frustrating problems when making hard candy is when it doesn’t harden properly. Instead of crisp, glassy pieces, you get soft, sticky lumps. Here’s why it happens and how to fix it:
1. You Didn’t Reach the Hard Crack Stage
Candy must be cooked to 300°F (149°C) — the hard crack stage. If it’s undercooked, it won’t set right. Even 5–10 degrees off can make the difference between a hard snap and a sticky mess.
Fix: Always use a candy thermometer and calibrate it before use. Boil water — it should read 212°F (100°C). If it doesn’t, adjust accordingly.
2. Humidity Got You
Candy is sensitive to moisture in the air. High humidity can keep sugar from setting and cause finished candy to absorb moisture, turning sticky.
Fix: Make candy on dry days. Use a dehumidifier or air-conditioned kitchen if necessary.
3. Stirring During Boil

If you stir the mixture while it’s boiling, you may introduce sugar crystals that cause graininess or make the batch seize.
Fix: Stir until sugar dissolves, then let it boil untouched. Don’t scrape the pot after pouring, either.
The Most Common Problem When Making Candy
Beyond soft texture, these are the top issues beginners face — and how to fix them fast.
Crystallization
This turns your mixture grainy or cloudy before it even hardens.
- Why it happens: Sugar crystals get reintroduced during boiling.
- Fix: Add corn syrup, don’t stir while boiling, and avoid scraping the sides of your pot.
Burned Sugar
It can happen in seconds if the temperature spikes too high.
- Why it happens: Heat too high or uneven cooking.
- Fix: Use a heavy-bottomed pot and medium heat. Never walk away once the syrup starts boiling.
Uneven Coloring
You added food dye too early or stirred too much.
- Fix: Wait until the candy is off heat and bubbling has slowed. Stir gently.
6. Science Behind Hard Candy: The Role of Temperature and Chemistry
Crystallization and How to Prevent It
Hard candy is as much about chemistry as it is about creativity. Understanding how sugar behaves under heat is the difference between flawless candy and a sticky disaster.
The Science of Sugar
When sugar dissolves in water and is heated, the molecules begin to break down and rearrange. As you raise the temperature, water evaporates, increasing sugar concentration.
Once it reaches 300°F, the mixture hits the hard crack stage — meaning there’s so little water left, the syrup will cool into a rigid, glassy texture.
Crystallization — The Enemy of Smooth Candy
Crystals form when undissolved sugar granules or foreign particles “seed” the mixture, causing it to clump.
How to avoid crystallization:
- Use corn syrup or acid (like lemon juice or cream of tartar) to inhibit sugar molecule alignment.
- Don’t stir the mixture once it starts boiling.
- Brush down the sides of the pan with a wet pastry brush if you notice crystals forming.
Quick Tip: You can also cover the pot for 2 minutes once boiling starts. Steam will naturally wash down the sides.
What Does Baking Soda Do in Hard Candy?
You might notice some recipes call for baking soda, but what exactly does it do?
1. Creates Air Pockets
When added to hot syrup, baking soda reacts with acid (like citric acid or cream of tartar) to release carbon dioxide gas. This creates tiny bubbles, giving the candy a light, aerated texture, similar to honeycomb or sponge candy.
2. Changes Color
The alkaline nature of baking soda can cause sugars to caramelize differently, deepening the color and altering flavor. This is why baking soda is often used in toffee-style or butterscotch hard candy recipes.
3. Enhances Crunch
By disrupting crystal formation, it helps prevent overly dense or glassy texture, giving you a crunchier bite.
7. Flavor Combinations and Creative Ideas

Classic Flavors vs. Unique Blends
One of the biggest perks of making homemade hard candy is the freedom to customize. Whether you’re into bold spice, tart fruit, or mellow vanilla, you can tailor flavors to suit any mood or occasion.
Classic Favorites
These tried-and-true flavors are perfect for gifting or family treats:
- Peppermint – great for holidays or breath-freshening drops
- Cherry – vibrant color and familiar sweetness
- Cinnamon – bold and warming, ideal for colder seasons
- Lemon – fresh, zesty, and universally loved
Fruity Flavors
Use concentrated extracts or natural powders:
- Watermelon
- Green Apple
- Blue Raspberry
- Mango
- Grape
Pro Tip: Mix a few drops of two compatible extracts (like lemon and raspberry) for layered flavor.
Extracts vs. Essential Oils
Make sure you’re using food-grade extracts. Essential oils like peppermint oil must be labeled safe for ingestion if you plan to use them in candy.
Seasonal, Spicy, and Natural Variations
If you want to get a little more creative, here are unique spins on traditional hard candy:
Spicy Twists
- Chili-Lime – sweet heat with a tangy citrus base
- Cinnamon Clove – deep, warming notes perfect for winter
- Ginger Lemon – spicy, sharp, and soothing for sore throats
Natural Flavor Ideas
- Lavender – floral and calming
- Elderberry – great for immune-boosting lozenges
- Honey-Thyme – herbal, smooth, and medicinal
Color Pairings to Match Your Flavors
| Flavor | Suggested Color |
|---|---|
| Peppermint | Red or White |
| Lemon | Yellow |
| Blue Raspberry | Blue |
| Watermelon | Pink or Green |
| Cinnamon | Red or Gold |
| Ginger | Amber or Light Brown |
Pro Tip: When using natural dyes like beet or turmeric, remember that heat can affect brightness. Add them post-boil for best results.
8. Storage and Shelf Life Tips for Hard Candy
How to Store Homemade Hard Candy the Right Way
Proper storage is crucial for keeping your hard candy crisp, glossy, and delicious. Sugar is highly hygroscopic, meaning it absorbs moisture from the air—fast. Left exposed, your candy can turn sticky, cloudy, or even soft within hours.
Best Storage Methods:
- Airtight Containers: Use jars with tight-fitting lids or food-grade plastic containers.
- Moisture Barrier: Place wax paper or parchment between layers to avoid sticking.
- Cool, Dry Place: Store away from heat sources and humidity — pantry cabinets work best.
- Avoid the Fridge: Refrigerators may seem dry but can introduce condensation when candy is brought back to room temperature.
Pro Tip: If you live in a humid climate, add a small food-safe silica gel packet to the container to help absorb extra moisture.
How Long Does It Last and How to Keep It Fresh
When stored properly, homemade hard candy can last up to 6–12 months without refrigeration. Its long shelf life makes it perfect for advance prep during the holidays or for gifting.
Signs Your Candy Has Gone Bad:
- Feels tacky or sticky
- Develops a dull appearance
- Starts to melt together
- Flavors fade or turn sour
| Storage Method | Shelf Life |
|---|---|
| Airtight container | 6–12 months |
| Open air (room temp) | 1–2 days |
| Refrigerator (not ideal) | 2–3 weeks (may stick) |
Don’t miss our tips for creative packaging and gifting in the conclusion section to turn your hard candy into thoughtful, long-lasting treats.
9. FAQs
The core ingredients of any hard candy are:
- Granulated sugar (provides structure)
- Water (dissolves sugar and enables even heating)
- Corn syrup (prevents crystallization)
- Flavoring extract (adds taste)
- Food coloring (optional for appearance)
Some recipes may include citric acid or baking soda for tang and texture effects.
How Do They Make Hard Candy?
Hard candy is made by:
- Boiling sugar, water, and corn syrup to 300°F (the hard crack stage)
- Removing from heat and adding flavor/color
- Pouring into molds or onto lined sheets
- Cooling until hard, then breaking or unmolding
No baking is involved — just precision heating and cooling.
Why Is My Homemade Hard Candy Not Hardening?
This typically happens due to:
- Not reaching the hard crack stage (300°F)
- Stirring after boiling starts
- Cooking in high humidity
- Using inaccurate measurements
Always use a candy thermometer and prep in a cool, dry space.
What Is the Most Common Problem When Making Candy?
Crystallization is the #1 issue. It results in a gritty or cloudy texture and often occurs if:
- The mixture is stirred while boiling
- Sugar crystals stick to the sides of the pot
- The mixture is not cooked hot enough
Use corn syrup and avoid over-stirring to prevent it.
What Does Baking Soda Do in Hard Candy?
Baking soda reacts with acidic ingredients to produce carbon dioxide bubbles, which create a light, airy texture like honeycomb or sponge candy. It can also deepen color and slightly alter the flavor.
For more recipes follow me on PINTEREST

