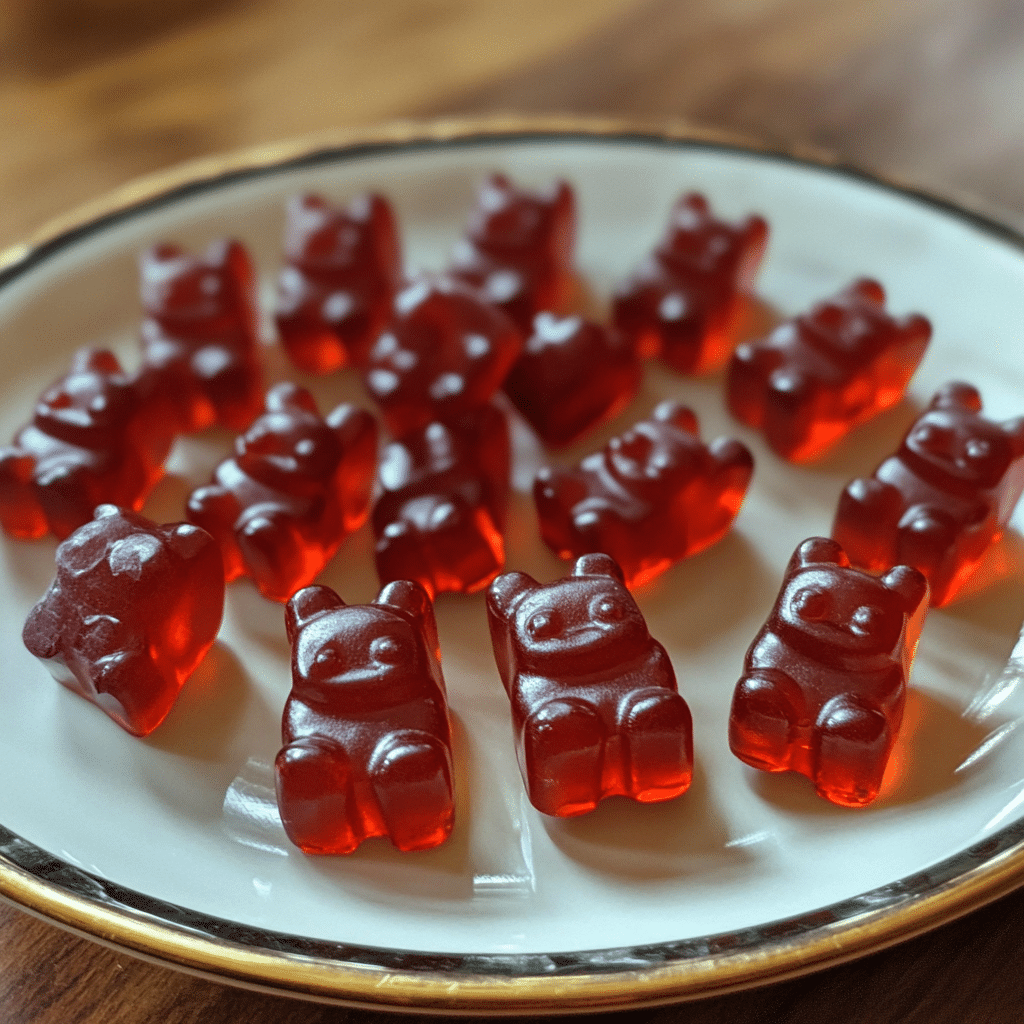
Homemade gummy bears aren’t just a fun DIY project—they’re your ticket to chewy, flavorful candy that’s totally customizable and way better than store-bought. Whether you’re aiming for all-natural fruit flavors, sugar-free versions, or playful colors that delight your kids, making gummy bears at home is surprisingly simple and addictively satisfying.
In this ultimate guide, we’ll cover everything from the basic ingredients and tools to foolproof techniques and flavor ideas. You’ll learn what gives gummy bears that signature bounce, how to tweak their texture, and how to troubleshoot when things go wrong. Plus, we’ll answer your most burning gummy bear FAQs and offer creative tips for storing, gifting, and even boosting your gummies with nutrients.
Table of Contents
Table of Contents
1. Introduction to Homemade Gummy Bears
What Are Homemade Gummy Bears?
Homemade gummy bears are soft, chewy candies made from gelatin or plant-based alternatives, often flavored with fruit juice, extracts, or Kool-Aid. Unlike commercial varieties packed with preservatives and artificial ingredients, DIY gummies can be made healthier and tailored to your taste.
These treats offer a nostalgic snack or a creative outlet for candy lovers, parents, or hobbyist cooks looking for hands-on kitchen fun.
Why Make Gummy Bears at Home?
From full flavor control to allergy-friendly ingredients, there are countless benefits to making your own gummies. Here’s why it’s worth doing:
| Benefit | Why It Matters |
|---|---|
| Natural Ingredients | Use real fruit juice, honey, or organic sweeteners |
| Custom Flavors | Try strawberry, orange, peach, or exotic flavors |
| Texture Control | Adjust firmness with gelatin ratio |
| Kid-Friendly Project | Easy and fun for kids with supervision |
| Cost-Effective | Make large batches for pennies on the dollar |
| No Preservatives | Enjoy candy with clean, simple ingredients |
Homemade versions also make great gifts or themed party favors, especially when shaped with playful silicone molds.
Overview of Ingredients and Tools
To start your candy adventure, you’ll need just a few basic ingredients and supplies:
Basic Ingredients:
- Unflavored gelatin (or vegan alternative like agar-agar)
- Fruit juice or flavored liquid
- Sweetener (honey, sugar, stevia, etc.)
Optional Add-Ins:
- Citric acid (for tangy sour gummies)
- Vitamin powders or supplements (for functional snacks)
- Food coloring or natural dyes (beet, turmeric, spirulina)
Essential Tools:
- Silicone gummy bear molds
- Saucepan
- Whisk or spoon
- Dropper or pipette (for precision pouring)
2. Essential Ingredients for Homemade Gummy Bears
The 3 Main Ingredients in Gummy Bears
At the heart of every homemade gummy bear recipe are just three core ingredients:
- Gelatin – This protein gives gummies their signature chewiness and elasticity.
- Liquid Base – Usually fruit juice, this provides flavor and natural sweetness.
- Sweetener – Sugar, honey, or a sugar-free substitute balances the taste.
These form the foundation of all gummy bear recipes, but they’re just the beginning.
Natural Sweeteners and Flavor Variations
Want to avoid corn syrup and artificial additives? Here are some clean alternatives to sweeten your batch:
| Sweetener | Taste Profile | Best For |
|---|---|---|
| Honey | Rich & floral | Kids’ gummies, wellness gummies |
| Maple Syrup | Earthy sweetness | Fall flavors like apple or pumpkin |
| Stevia | Sugar-free | Keto or diabetic-friendly gummies |
| Fruit Puree | Fresh & fruity | 100% natural gummy bears |
You can also flavor gummies with extracts like vanilla, lemon, peppermint, or even essential oils (ensure they’re food-grade).
Vegan and Allergy-Friendly Alternatives
If you’re vegan or allergic to animal products, replace gelatin with:
- Agar-Agar (seaweed-based)
- Pectin (fruit-derived)
- Carrageenan (from red algae)
Each behaves differently, so you’ll need to experiment with texture and ratios.
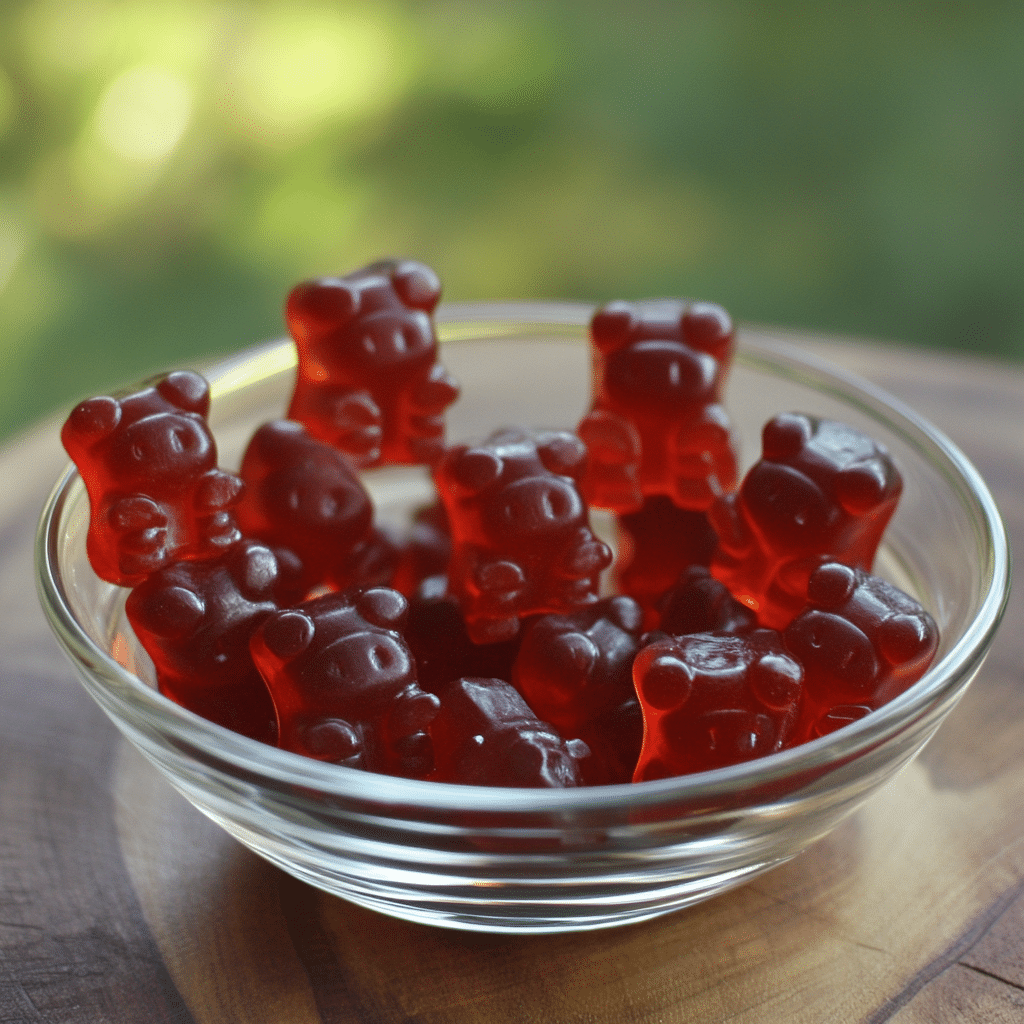
3. Step-by-Step Guide: How to Make Homemade Gummy Bears
Preparing the Gummy Base
Start by gathering your ingredients and prepping your gummy bear molds. Then follow these core steps:
- Mix the liquid (juice or water) with your chosen sweetener in a saucepan.
- Sprinkle the gelatin (or agar) over the liquid and let it bloom (sit for 5–10 minutes).
- Heat gently over medium-low, stirring constantly, until the mixture is fully dissolved and smooth (but do not boil).
Flavoring and Coloring Your Gummies
Once dissolved, remove the mix from heat. Now is the time to add:
- Fruit extracts or oils
- Natural food coloring
- Vitamin powders or supplements (if desired)
Stir well so everything blends evenly.
Looking for inspiration? Try our Candy Grapes variation for bright, bold fruit ideas.
Pouring Into Molds and Setting Techniques
- Use a dropper or pipette to carefully fill each mold cavity.
- Let molds sit at room temperature for 10–15 minutes, then chill in the fridge for 1–2 hours.
- Once firm, pop out the gummies and store in an airtight container.
Optional: Dust with a light coating of cornstarch or powdered sugar to reduce stickiness.
4. Mastering Gummy Texture: The Science of Chewiness
What Makes Homemade Gummies Chewy?
The chewiness of homemade gummy bears comes from the gelatin concentration and water ratio. The more gelatin you use, the firmer and bouncier the texture becomes.
Here’s a basic guideline:
| Texture | Gelatin (Tbsp) per 1 cup liquid |
|---|---|
| Soft & Wiggly | 1 |
| Classic Gummy | 2 |
| Firm & Bouncy | 3 |
You can also reduce water for a more intense chew.
Gelatin vs. Pectin vs. Agar-Agar
Each setting agent behaves differently:
| Gelling Agent | Texture | Pros | Cons |
|---|---|---|---|
| Gelatin | Bouncy, chewy | Most traditional, easy to find | Not vegan, sensitive to heat |
| Agar-Agar | Firm, clean bite | Vegan, holds shape well | Can get brittle, requires precision |
| Pectin | Soft chew | Plant-based, smooth finish | Needs sugar and acid to set |
So if you’re asking “what gives gummy bears their chewiness?” – it’s mostly the gelatin + chilling method + ratios.
Tips for Achieving That Perfect Gummy Bite
- Avoid boiling – it weakens gelatin structure.
- Bloom gelatin first – don’t skip this critical step.
- Use a thermometer – heat mixture gently to about 140°F.
- Add citric acid after cooking – preserves gelling power and enhances flavor.
Want a recipe with maximum chew? Try our chewy Gummies & Chews collection for creative combinations that pop.
5. Creative Gummy Bear Variations to Try
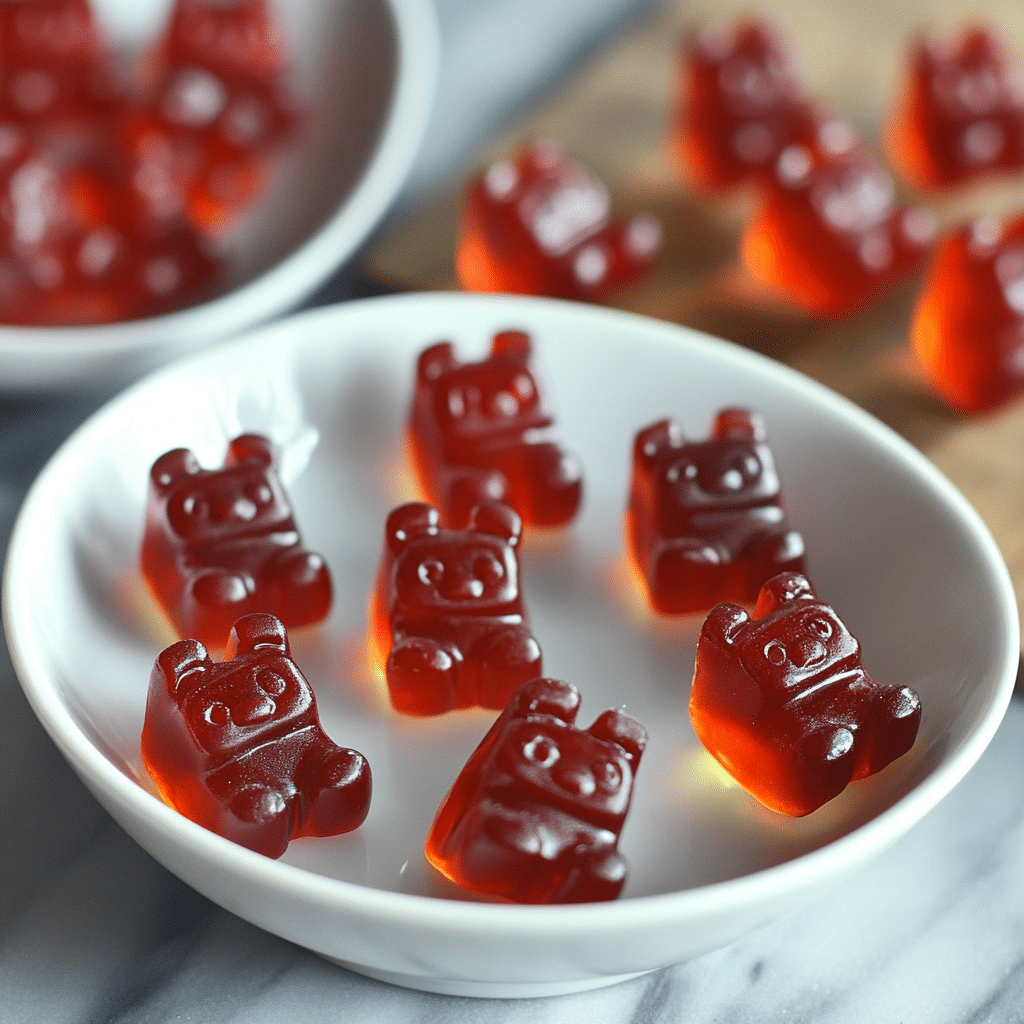
Fruit Juice Gummy Bears
Want to keep things natural? Use fresh or bottled fruit juice for flavor and color. Some favorites:
- Strawberry + lemon
- Pineapple + mango
- Blueberry + grape
Tip: Strain pulp for a smooth texture, or leave it for a rustic, snack-like chew. Mix juice with gelatin just like water, adjusting sweetener to taste.
Sour Gummy Bears and Sugar Coating
For that tangy-sweet pop, coat gummies in a sour sugar mix:
Sour Coating Recipe:
- ½ cup granulated sugar
- 1 tbsp citric acid
- Optional: zest of lemon or lime
Toss your set gummies lightly for instant sour bears. You can also add a sour element right into the base mixture using ascorbic or citric acid.
Gummy Bears with Vitamins or CBD
Transform your treats into functional candy with:
- Vitamin C or multivitamin powders
- Collagen peptides for beauty-boosting benefits
- CBD or melatonin (consult proper dosing for safety)
These can be added to your warm mixture before molding. Be sure to avoid high heat after adding to preserve potency.
6. Storage, Shelf Life & Troubleshooting
How to Store Homemade Gummies
Gummy bears need to stay cool and dry. Use the chart below to choose your best method:
| Storage Method | Duration | Notes |
|---|---|---|
| Fridge (airtight) | 2–3 weeks | Keeps chewy, firm texture |
| Pantry (cool/dark) | 5–7 days | Best for dry-coat gummies |
| Freezer (sealed) | Up to 3 months | Thaw at room temp, avoid frost |
Always keep them sealed to avoid stickiness and moisture absorption.
Common Problems and How to Fix Them
| Problem | Cause | Fix |
|---|---|---|
| Too sticky | Humidity or no dusting | Roll in cornstarch or sour sugar mix |
| Not setting | Not enough gelatin or poor bloom | Increase gelatin or bloom longer |
| Gummy too firm or rubbery | Overcooked or too much gelatin | Reduce cooking time or gelatin amount |
| Cloudy appearance | Juices with pulp or air bubbles | Strain juice and stir gently |
Don’t miss our Chocolate & Coated Treats section for more candy troubleshooting ideas.
Making Large Batches or Gift Packs
Homemade gummy bears make awesome party favors, holiday gifts, or fun family snacks.
Tips:
- Use mini mason jars or candy bags for gifting
- Add cute labels and flavor descriptions
- Make double batches and flavor them differently
7. Kids’ Edition: Making Gummy Bears Fun for Families
Safe and Fun Kitchen Activities
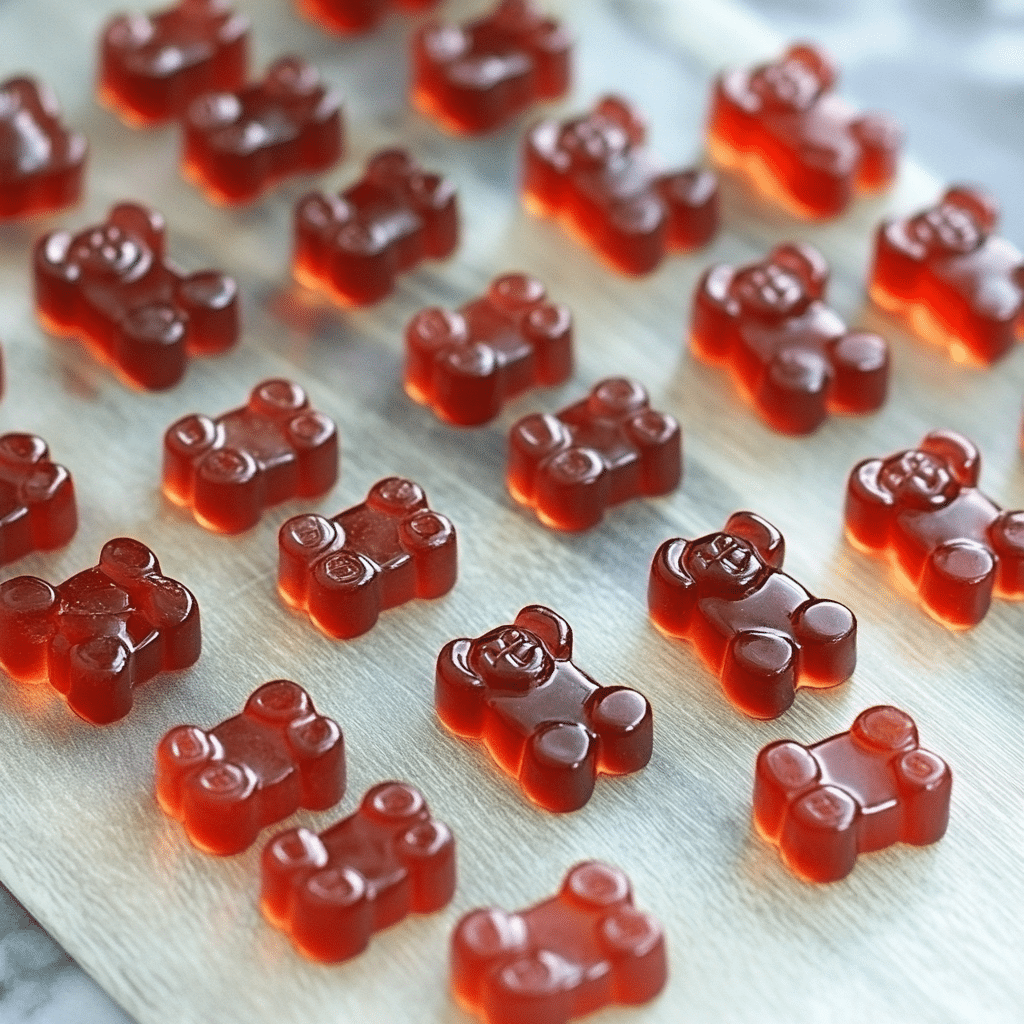
Making gummy bears is a family-friendly activity that teaches kids about cooking, measurements, and even basic science. Keep it safe with:
- Low-heat supervision
- Soft plastic or silicone molds
- Avoid sharp tools or glass containers
Let them pick the colors and help fill the molds!
Best Molds and Tools for Kids
Fun shapes make gummies extra exciting. Look for:
- Gummy bear-shaped silicone trays
- Animal, dinosaur, or emoji molds
- Small droppers or squeeze bottles for easy pouring
You can also freeze leftover mix into ice cube trays or layer different colors for rainbow gummies.
Fun Flavors and Coloring Without Artificial Dyes
Natural ingredients can make bright and beautiful gummies. Try these:
| Color | Natural Source |
|---|---|
| Red | Beet juice or strawberry |
| Yellow | Turmeric or lemon |
| Green | Spinach or spirulina |
| Blue | Butterfly pea flower |
| Purple | Blueberry or grape |
Use these in juice or extract form and blend them right into the liquid before heating.
8. FAQs
How to make homemade gummy bears?
Homemade gummy bears are made by dissolving gelatin (or a vegan gelling agent) in a sweetened fruit juice base, heating the mixture gently, and pouring it into silicone molds to set. The basic steps:
- Bloom gelatin in cold juice
- Heat the mixture until fully dissolved
- Add flavors or supplements
- Pour into molds and refrigerate for 1–2 hours
- Unmold and enjoy
It’s fast, fun, and allows for endless flavor creativity.
What are the three main ingredients in gummy bears?
The core components that define a gummy bear are:
- Gelatin – the chewy base
- Juice or water – the flavor and volume
- Sweetener – typically sugar, honey, or a low-carb alternative
Additions like citric acid, coloring, and flavor extracts make your batch pop!
How to make gummy sweets at home?
Besides bears, you can shape gummies into hearts, stars, worms, and more. The method stays the same:
- Choose your base liquid and sweetener
- Add your preferred thickening agent
- Flavor it, color it, and mold it
Try fun variations like layered gummies, sour gummies, or vitamin-infused bites.
What makes homemade gummies chewy?
Chewiness comes from the gelatin-to-liquid ratio, with higher gelatin yielding firmer results. Refrigeration helps them set solidly, and avoiding overcooking prevents rubbery texture.
Blooming your gelatin correctly (in cold liquid first) ensures a smooth, chewy finish.
What gives gummy bears their chewiness?
That iconic gummy bite comes from gelatin’s protein chains, which form a firm but elastic structure. If you’re vegan, pectin or agar can provide similar results with different textural nuances.
9. Conclusion
Making homemade gummy bears is more than just a snack it’s a satisfying and joyful activity that brings flavor, fun, and creativity into your kitchen. Whether you’re crafting for kids, customizing for health, or just indulging in nostalgia, this guide gives you everything you need to succeed.
From picking the perfect gelatin ratio to experimenting with vibrant natural dyes and flavor boosters, your options are limitless. So grab a mold, pick a juice, and get ready to make your own chewy candy magic at home.
For more recipes follow me on PINTEREST
PrintHomemade Gummy Bears: The Ultimate Guide to Sweet, Chewy Treats You Can Make at Home
These Homemade Gummy Bears are fruity, chewy, and irresistibly fun to make. With just 3 main ingredients and endless flavor options, this DIY candy recipe is perfect for family-friendly activities, lunchbox snacks, or sugar-free treats. Use real fruit juice, natural sweeteners, and your favorite molds to bring colorful gummy bears to life in under 30 minutes of hands-on time.
- Prep Time: 10 minutes
- Cook Time: 2 hours
- Total Time: 2 hours 15 minutes
- Yield: 10 gummies
- Category: Candy
- Cuisine: American
Ingredients
| Ingredient | Quantity |
|---|---|
| 1 cup 100% fruit juice | (strawberry, grape, etc.) |
| 2 tablespoons unflavored gelatin | (or 2 tsp agar-agar for vegan) |
| 2 tablespoons honey or maple syrup | (or stevia for sugar-free) |
| 1 teaspoon lemon juice (optional) | |
| Natural food coloring (optional) | a few drops |
Instructions
-
Bloom the gelatin: In a small saucepan, pour fruit juice and sprinkle gelatin on top. Let it sit for 5–10 minutes until the gelatin absorbs the liquid.
-
Heat the mixture: Turn on low heat and stir continuously until the gelatin dissolves completely. Do not let it boil.
-
Add sweetener and extras: Stir in honey or sweetener, lemon juice, and any natural coloring or flavor extracts. Mix well.
-
Pour into molds: Using a dropper or spoon, fill silicone gummy bear molds.
-
Chill: Refrigerate for at least 1–2 hours until fully set.
-
Unmold and store: Pop the gummies out and store in an airtight container in the fridge.
Nutrition
- Serving Size: 10 gummies
- Calories: 55g
- Sugar: 10g
- Sodium: 5mg
- Fat: 0g
- Carbohydrates: 12g
- Fiber: 0g
- Protein: 2g

