Making homemade candy canes is more than a kitchen project—it’s a holiday tradition packed with nostalgia, creativity, and just the right amount of sticky fun. Whether you want to surprise your guests, gift something from the heart, or simply craft sweets that beat store-bought in both taste and charm, this guide has you covered. We’ll walk through everything from candy cane history and ingredient tips to shaping, flavoring, and creative DIY ideas.
Don’t miss our Homemade Gummy Bears guide if you’re into chewy, colorful treats too.
Table of Contents
Table of Contents
1. What Are Homemade Candy Canes?
The History of Candy Canes and Their Holiday Charm
Before you pick up your thermometer and sugar, let’s explore why candy canes became such a seasonal staple.
The story of the candy cane dates back to 17th-century Europe, where straight white sugar sticks were reportedly given to children during church services to keep them quiet. A German choirmaster is said to have bent the sticks into a shepherd’s crook shape—symbolizing the shepherds who visited baby Jesus.
Fast forward to the 1900s in the United States, when red stripes and peppermint flavor were added, turning these once-simple sugar sticks into festive icons. That distinct curve, that sharp minty snap—it’s more than a sweet. It’s holiday magic in candy form.
Why Make Candy Canes at Home?
While store-bought candy canes are everywhere, they often lack the rich flavor and freshness of homemade versions. Making candy canes at home allows you to:
- Control ingredients (no artificial dyes or corn syrup, if desired)
- Customize colors and flavors
- Get hands-on with a fun, creative project
- Create beautiful gifts and decorations
Plus, you avoid preservatives and mass manufacturing processes. Many home cooks find the experience therapeutic and nostalgic. And when you get that glossy red-and-white twist just right? Pure satisfaction.
Want to try another holiday trend? Check out these Geode Cookies—they’re gorgeous and edible!
2. Essential Ingredients and Tools for Homemade Candy Canes
Core Ingredients for Classic Candy Canes
Here’s what you’ll need to make homemade candy canes from scratch. These basic ingredients deliver the classic taste and texture we all know and love.
| Ingredient | Purpose |
|---|---|
| Granulated Sugar | Main sweetening base |
| Light Corn Syrup | Prevents crystallization, helps create pliable candy |
| Water | Helps dissolve sugar evenly |
| Peppermint Extract | Signature candy cane flavor |
| Food Coloring (Red) | Traditional stripe color |
| Cream of Tartar (optional) | Helps stabilize the sugar mixture |
Tips:
- Use clear peppermint extract for a bright white base.
- Gel food coloring gives more vibrant color with less liquid.
Looking for alternatives? Swap in natural beet juice for coloring or use honey instead of corn syrup for a more natural spin (note: texture may vary).
Must-Have Kitchen Tools for Candy Cane Crafting
Candy making involves high temperatures and precise timing. Having the right tools makes it easier and safer.
| Tool | Why You Need It |
|---|---|
| Candy Thermometer | Crucial for hitting the right hard-crack stage |
| Heavy-bottom Saucepan | Distributes heat evenly to prevent burning |
| Heat-resistant Silicone Mat | For pouring and working the hot sugar mixture |
| Bench Scraper or Spatula | Helps fold, twist, and cut candy |
| Kitchen Scissors | For trimming the ends cleanly |
| Latex or Silicone Gloves | Protect your hands while shaping hot candy |
Bonus Tip: Use a marble or granite surface for cooling the candy quickly, making it easier to work with before it hardens.
Don’t miss our helpful post on Chocolate & Coated Treats for more candy crafting inspiration.

3. Step-by-Step Process to Make Homemade Candy Canes
Preparing Your Candy Mixture with Precision
Once your tools and ingredients are ready, it’s time to make the candy base. Precision matters—this isn’t the time to eyeball ingredients or guess temperatures.
Step-by-step guide:
- Combine sugar, water, and corn syrup in a heavy-bottomed saucepan over medium heat. Stir until sugar dissolves.
- Insert your candy thermometer and let the mixture boil without stirring.
- Heat until 300°F (149°C)—this is known as the hard crack stage, which gives candy canes their snap.
- Remove from heat immediately once the temperature is reached.
- Add peppermint extract and stir quickly (it may bubble—be cautious).
- Divide the mixture into two equal parts: one stays white, the other gets a few drops of red food coloring.
Safety note: Molten sugar is dangerously hot. Always wear gloves and work on a heat-safe surface.
Now your flavored, colored sugar is ready to be shaped into classic homemade candy canes.
Pro tip: Work quickly but carefully. Candy hardens fast, and waiting too long makes shaping difficult.
Coloring, Shaping, and Twisting Your Canes Like a Pro
This part is where the artistry begins. Candy canes get their look from carefully twisted stripes—a combination of speed, patience, and practice.
Step-by-step shaping:
- Pour each sugar batch onto separate silicone mats to cool slightly.
- Knead each portion carefully with gloved hands until it becomes glossy and pliable (about 2–3 minutes).
- Pull the white candy, folding and stretching until it turns pearly (this aerates the sugar and turns it opaque).
- Roll both colors into ropes of equal length and thickness.
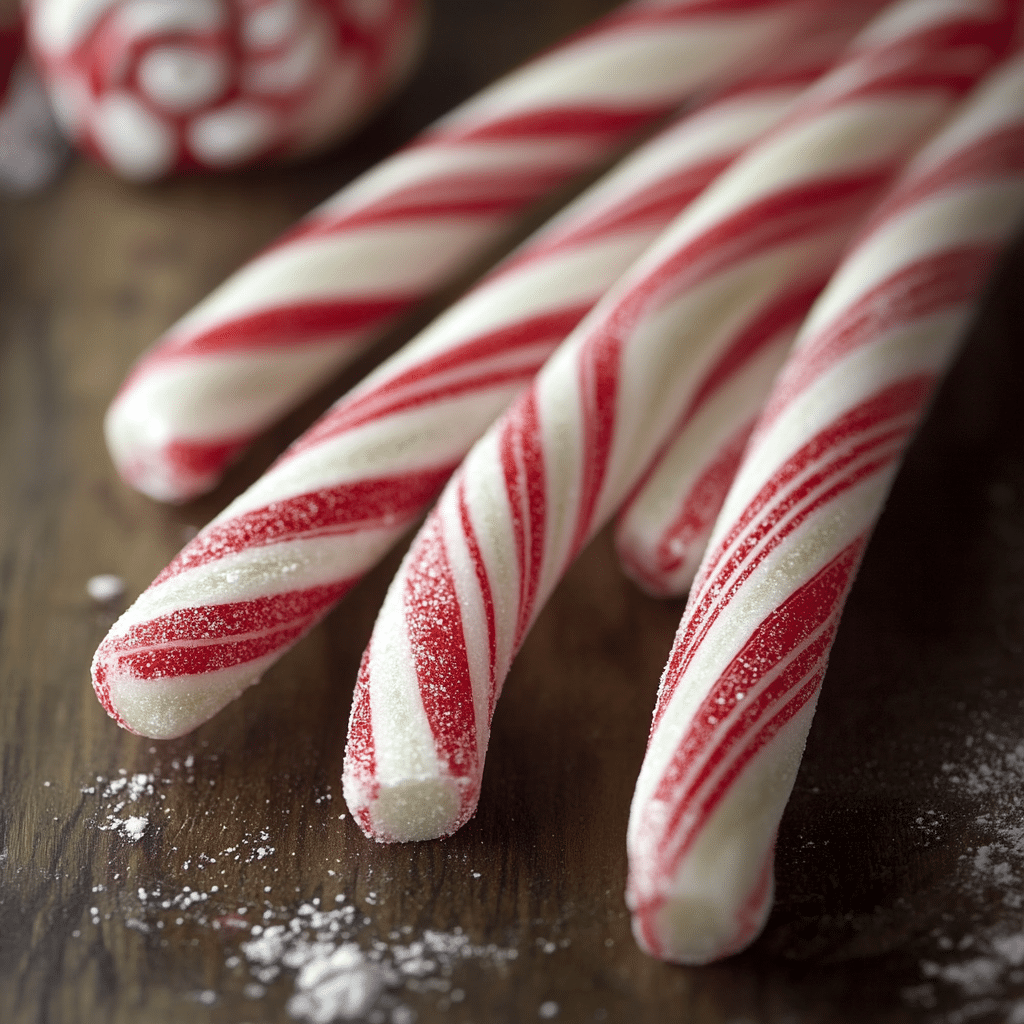
- Twist them together, gently stretching as you go to form the striped pattern.
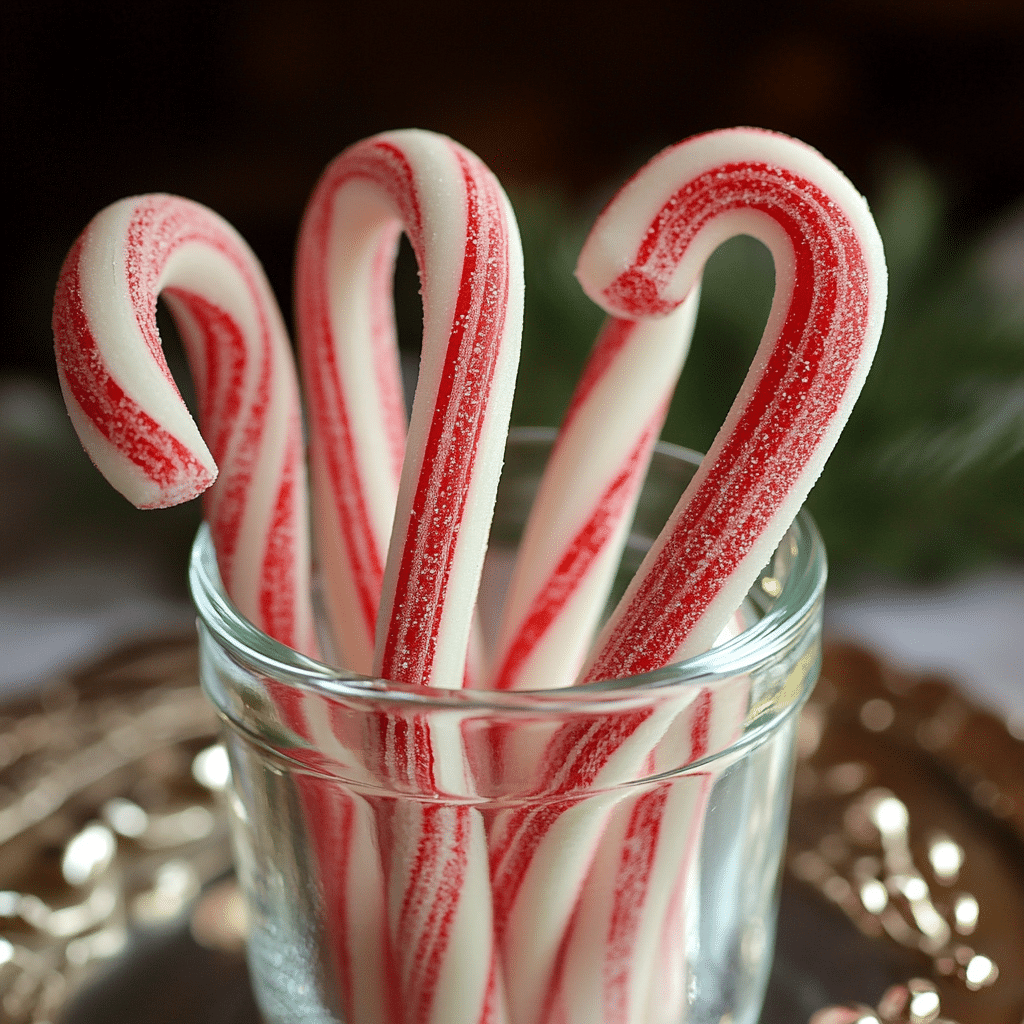
- Cut into 5–6 inch pieces, then curve one end to create the cane shape.
Let the canes cool and harden fully at room temperature.
Tip: If you want mini candy canes or jumbo versions, adjust rope length and diameter accordingly.
4. Pro Tips for Perfect Candy Cane Results
How to Get the Right Texture and Shine
Achieving that glossy, professional finish isn’t just about luck. The secret lies in proper temperature control, timing, and sugar handling.
- Consistency is everything. Boil your sugar mixture to precisely 300°F. Anything lower leads to chewy canes; too high, and they become brittle.
- Aerate the white portion properly. Pulling introduces air bubbles, giving it a beautiful opaque look.
- Work in a warm room. Cold air can cause the candy to crack while you’re shaping it.
- Use food-safe gloves when kneading. It protects your hands and keeps the candy smooth and glossy.
Bonus: If the mixture starts hardening too fast, place it under a heat lamp or in a warm oven (150°F) for a few seconds to soften it back up.
Common Mistakes to Avoid in Homemade Candy Canes
Even experienced candy makers slip up now and then. Here are the top pitfalls to avoid:
| Mistake | Fix/Prevention |
|---|---|
| Stirring during boiling | Don’t stir after sugar dissolves—it causes crystallization |
| Using cold extract or flavoring | Warm extracts before adding to prevent bubbling or seizing |
| Uneven rope sizes | Roll ropes on a clean surface to keep them uniform in shape |
| Not preparing tools ahead | Have everything ready—hot candy waits for no one |
| Skipping the thermometer | Eyeballing won’t cut it—use a digital or classic candy thermometer |
Helpful Tip: Once you master your first batch, try playing with dual flavors—like cinnamon and clove—each in a different colored stripe.
Want even more fun? Learn about Kool Aid Gummy Bears to expand your DIY candy skills.
5. Flavor Variations and Creative Twists
Adding Peppermint, Cinnamon, or Fruity Flavors

While traditional homemade candy canes use peppermint extract, there’s no rule saying you have to stick with just one flavor.
Here are some flavoring ideas to make your candy canes stand out:
| Flavor | Extract Type | Pairs Well With Color |
|---|---|---|
| Peppermint | Classic, cool | Red or green stripes |
| Cinnamon | Spicy, warming | Red or gold stripes |
| Wintergreen | Fresh, herbal | Light green |
| Cherry | Sweet, fruity | Pink or red |
| Orange | Bright, citrusy | Orange and white |
| Bubblegum | Fun, nostalgic | Blue or pink |
Tip: Always use food-grade extracts or essential oils, and only a few drops per batch—these flavors are strong!
Fun Shapes and Color Combos for Any Occasion
Homemade candy canes don’t have to stick to the traditional shape. There are endless ways to twist and mold your candy to match any holiday or event.
Creative shaping ideas:
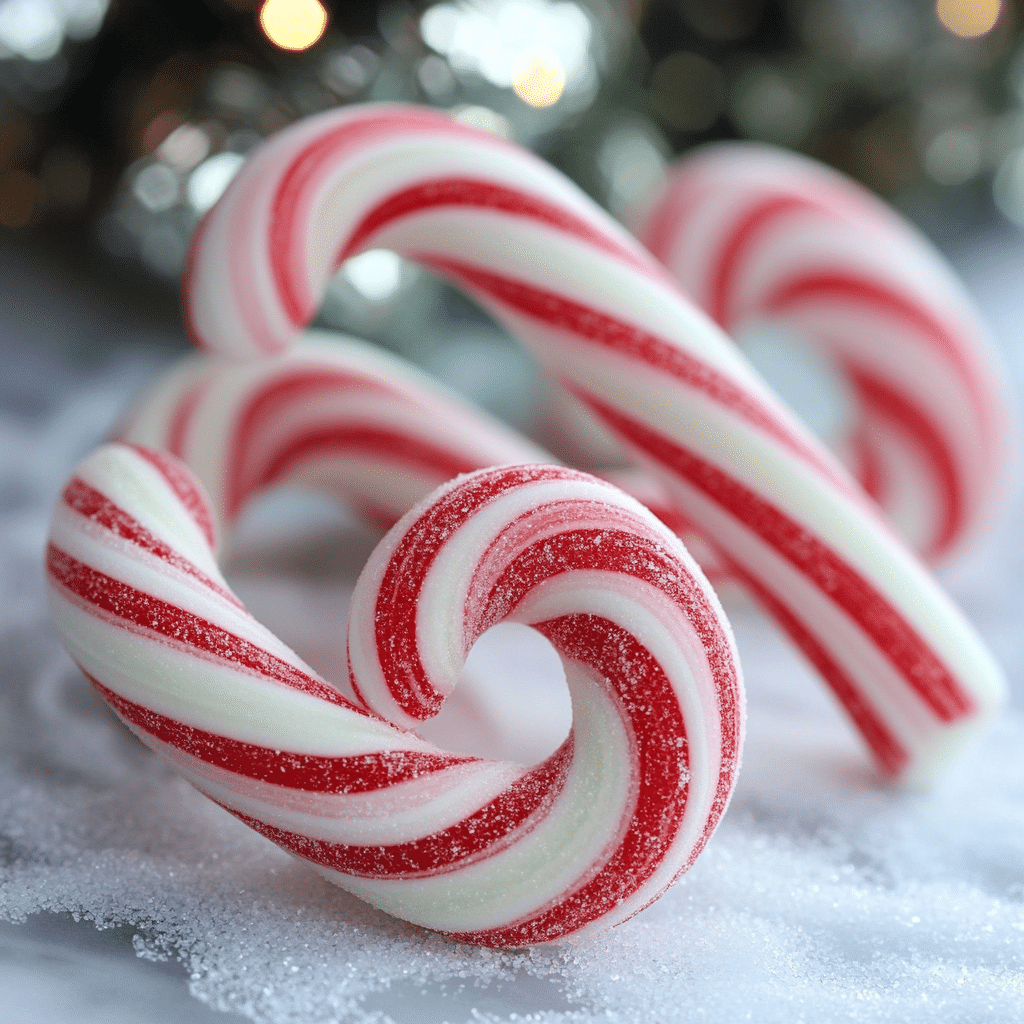
- Candy hearts for Valentine’s Day: Bend the cane ends into a heart instead of a hook.
- Candy spirals: Curl the candy into tight circles like a lollipop.
- Mini sticks: Great for topping cupcakes, hot cocoa, or gift boxes.
- Alphabet letters: Shape your loved ones’ initials for a personal touch.
Color variations:
- Red & green for Christmas
- Purple & orange for Halloween
- Pastels for Easter or baby showers
- Team colors for sports events
6. Storage, Shelf Life, and Gift Ideas
How to Store Candy Canes Without Breaking or Melting
Proper storage is key to keeping your homemade candy canes fresh, shiny, and intact. The good news? These treats can last weeks if handled right.
Storage tips:
- Wrap each cane individually in wax paper or plastic wrap to prevent sticking and moisture.
- Store in an airtight container in a cool, dry place. Avoid humid areas like near the stove or dishwasher.
- Use parchment paper between layers if stacking.
- Avoid refrigeration—it causes condensation and stickiness.
Shelf Life: Up to 3 weeks at room temperature, and up to 2 months when vacuum sealed.
Wrapping and Gifting Homemade Candy Canes
Homemade candy canes are not just delicious—they’re heartfelt, customizable gifts for teachers, neighbors, coworkers, and party guests.
Gift packaging ideas:
- Place in clear treat bags with holiday ribbon.
- Add a handwritten tag with ingredients or a festive quote.
- Bundle with hot cocoa mix jars for a cozy winter gift set.
- Insert into mugs, stockings, or gift boxes as a sweet surprise.
Bonus: Create a candy cane gift basket with homemade chocolate bark and gummy treats. Don’t miss our guide on chocolate-coated treats to complete your bundle.
7. Homemade Candy Cane Recipes for Special Treats
Candy Cane Bark, Cupcakes & Desserts

One of the best parts about making homemade candy canes is using the leftovers (or the broken ones) in other delicious recipes. Crushed candy canes add a peppermint punch and crunch to a wide range of treats.
🍫 Candy Cane Bark
Ingredients:
- 12 oz white chocolate chips
- 12 oz dark chocolate chips
- 1/2 cup crushed homemade candy canes
Instructions:
- Melt dark chocolate, spread on parchment paper, and chill.
- Melt white chocolate, spread on top, then sprinkle crushed candy cane pieces.
- Chill, break into pieces, and store in an airtight container.
This recipe is not only easy, but it also makes a perfect edible gift. Tip: Use different candy cane flavors for color variety!
🧁 Candy Cane Cupcakes
Simply fold crushed candy canes into vanilla cupcake batter and top with peppermint frosting. They add color, flavor, and festive crunch to each bite.
🍨 Peppermint Ice Cream Topping
Sprinkle crushed candy canes over chocolate or vanilla ice cream for a cool and crunchy topping. It’s also amazing on milkshakes.
Candy Cane Syrup and Old-Fashioned Cocktail Recipe
You can also transform your homemade candy canes into syrup for drinks and desserts.
🍬 Peppermint Syrup
Instructions:
- In a saucepan, simmer 1/2 cup crushed candy canes with 1 cup water and 1 cup sugar until dissolved.
- Let cool, strain, and store in the fridge.
This syrup is great for coffee, hot cocoa, cocktails, and pancakes!
🍹 Candy Cane Old Fashioned
Ingredients:
- 2 oz bourbon
- 1/2 oz candy cane syrup
- Dash of bitters
- Crushed candy cane rim (optional)
- Orange peel or cherry for garnish
Instructions:
- Stir ingredients with ice, strain into a glass with crushed candy cane rim, and garnish.
This drink is a grown-up holiday treat with a nostalgic twist.
8. Candy Cane Crafts and Decorating Ideas
Creative Ways to Use Candy Canes in Decor
Beyond the kitchen, homemade candy canes bring holiday magic into your home. Their nostalgic shape and striped look make them perfect for DIY decorations.
Here are some creative ideas:
- Candy Cane Wreaths: Glue wrapped candy canes around a foam wreath and add bows and ornaments.
- Tree Ornaments: Tie homemade candy canes with string or ribbon and hang them directly on your Christmas tree.
- Napkin Holders: Cross two candy canes and tie them around napkins for a festive dinner table setting.
- Gift Tags: Attach mini candy canes to gift wrapping for a sweet touch.
Need more crafty dessert ideas? Check out Geode Cookies, which sparkle just like real crystals!
Holiday Wreaths, Ornaments, and Party Favors
Homemade candy canes can be turned into party favors or decorations with just a few add-ons.
🎁 Party Favor Ideas:
| Favor Type | How to Use Homemade Candy Canes |
|---|---|
| Hot Cocoa Kits | Tie 1 candy cane to a mason jar with cocoa mix |
| Ornament Bags | Add candy cane with pine sprigs and berries |
| Place Cards | Use candy canes to hold table name tags |
You can even host a candy cane crafting party with kids or friends, letting everyone make their own shapes, colors, or edible décor.
This transforms simple sugar into sweet memories.
9. FAQs
Are candy canes hard to make?
Not really—if you follow the right steps. While making homemade candy canes may seem intimidating at first, it’s all about preparation and precision. The key challenges include:
- Managing hot sugar safely
- Working quickly before the candy hardens
- Shaping and twisting the candy ropes evenly
With the right kitchen tools and a candy thermometer, even beginners can succeed. The process becomes easier (and more fun) with practice.
What ingredients are in candy canes?
Classic homemade candy cane ingredients are simple and few. You’ll need:
- Granulated sugar
- Light corn syrup
- Water
- Peppermint extract (or another flavor)
- Red food coloring (or your color of choice)
Optional: Cream of tartar helps prevent crystallization, but isn’t essential. You can also use natural extracts and plant-based colorings if you prefer a more organic version.
How do you make candy cane old fashioned?
A Candy Cane Old Fashioned cocktail is a holiday twist on the classic bourbon drink. Here’s a quick version:
Ingredients:
- 2 oz bourbon
- 0.5 oz peppermint syrup (made by boiling crushed candy canes with sugar and water)
- Dash of bitters
- Garnish: crushed candy cane rim, orange peel, or cherry
Instructions:
- Stir ingredients over ice.
- Strain into a lowball glass.
- Garnish with crushed candy cane and a cherry.
Want to make the syrup? Go back to Part 7 of this guide for full instructions.
What can I use to crush candy canes?
Crushing candy canes is super easy—and incredibly satisfying.
Here’s how:
- Place candy canes in a Ziploc bag.
- Use a rolling pin, meat mallet, or the bottom of a heavy mug to crush them into your desired size.
- For fine dust (like for hot cocoa), pulse them in a food processor.
Be sure to use wrapped or fully cooled candy canes to avoid sticky messes.
How can I make candy canes?
To make homemade candy canes, follow these five basic steps:
- Boil sugar, corn syrup, and water to the hard crack stage (300°F).
- Add flavor and divide the batch into color sections.
- Knead and pull the white portion, roll both into ropes.
- Twist and shape into candy canes.
- Cool and store wrapped at room temperature.
What’s the best way to shape homemade candy canes?
The best way to shape candy canes is by working on a silicone mat or marble slab while the candy is still warm but pliable.
Tips for best shaping:
- Pull and twist gently to avoid air bubbles.
- Use gloves to protect your hands and smooth the ropes.
- Cut pieces evenly, then curve one end to make the hook.
If the candy cools too fast, pop it under a warm oven (150°F) for 1–2 minutes to soften it up again.
For more recipes follow me on PINTEREST
PrintHomemade Candy Canes: The Ultimate Guide to Sweet DIY Success
These vibrant and flavorful homemade candy canes are a festive favorite that you can make right in your kitchen. With just a few ingredients and some holiday spirit, you’ll twist up sweet, pepperminty treats perfect for gifting, decorating, or enjoying yourself. Customize with different flavors and colors for a personal holiday twist.
- Prep Time: 15 minutes
- Cook Time: 45–60 minutes
- Total Time: 1 hour 10 minutes
- Yield: 12–16 candy canes 1x
- Category: Candy
- Cuisine: American
Ingredients
-
2 cups granulated sugar
-
2/3 cup light corn syrup
-
1/4 cup water
-
1/2 tsp peppermint extract (or flavor of choice)
-
1/4 tsp cream of tartar (optional for stability)
-
Red food coloring (gel recommended)
-
Powdered sugar or cornstarch (for handling)
Instructions
-
In a heavy saucepan, combine sugar, corn syrup, and water. Stir gently over medium heat until sugar dissolves.
-
Insert candy thermometer. Without stirring, heat mixture to 300°F (149°C) (hard crack stage).
-
Remove from heat, quickly stir in peppermint extract.
-
Divide the candy into two portions: add red coloring to one and leave the other plain.
-
On silicone mats or greased marble surface, let each portion cool briefly until safe to handle.
-
Wearing gloves, pull and fold the white portion until it becomes opaque and glossy.
-
Roll each portion into ropes, twist together, and stretch gently.
-
Cut into desired lengths (about 6 inches) and curve one end into a cane shape.
-
Let cool and harden completely at room temperature.
-
Wrap individually and store in a cool, dry place.
Nutrition
- Serving Size: 12–16 candy canes
- Calories: 95 kcal
- Sugar: 23 g
- Sodium: 5 mg
- Carbohydrates: 24 g


